2025-02-10
Jenkins로 CI/CD 구축하기 (2)
CI/CD 구축 (2)

Jenkins로 CI/CD 구축하기 (2)
메인 브랜치로 머지 → Webhook 전달 → Docker 이미지 빌드 → Docker Hub에 푸시 → 결과 알림
브라우저에서 ec2 public ip에 8080 포트로 jenkins 서버에 접속한다.
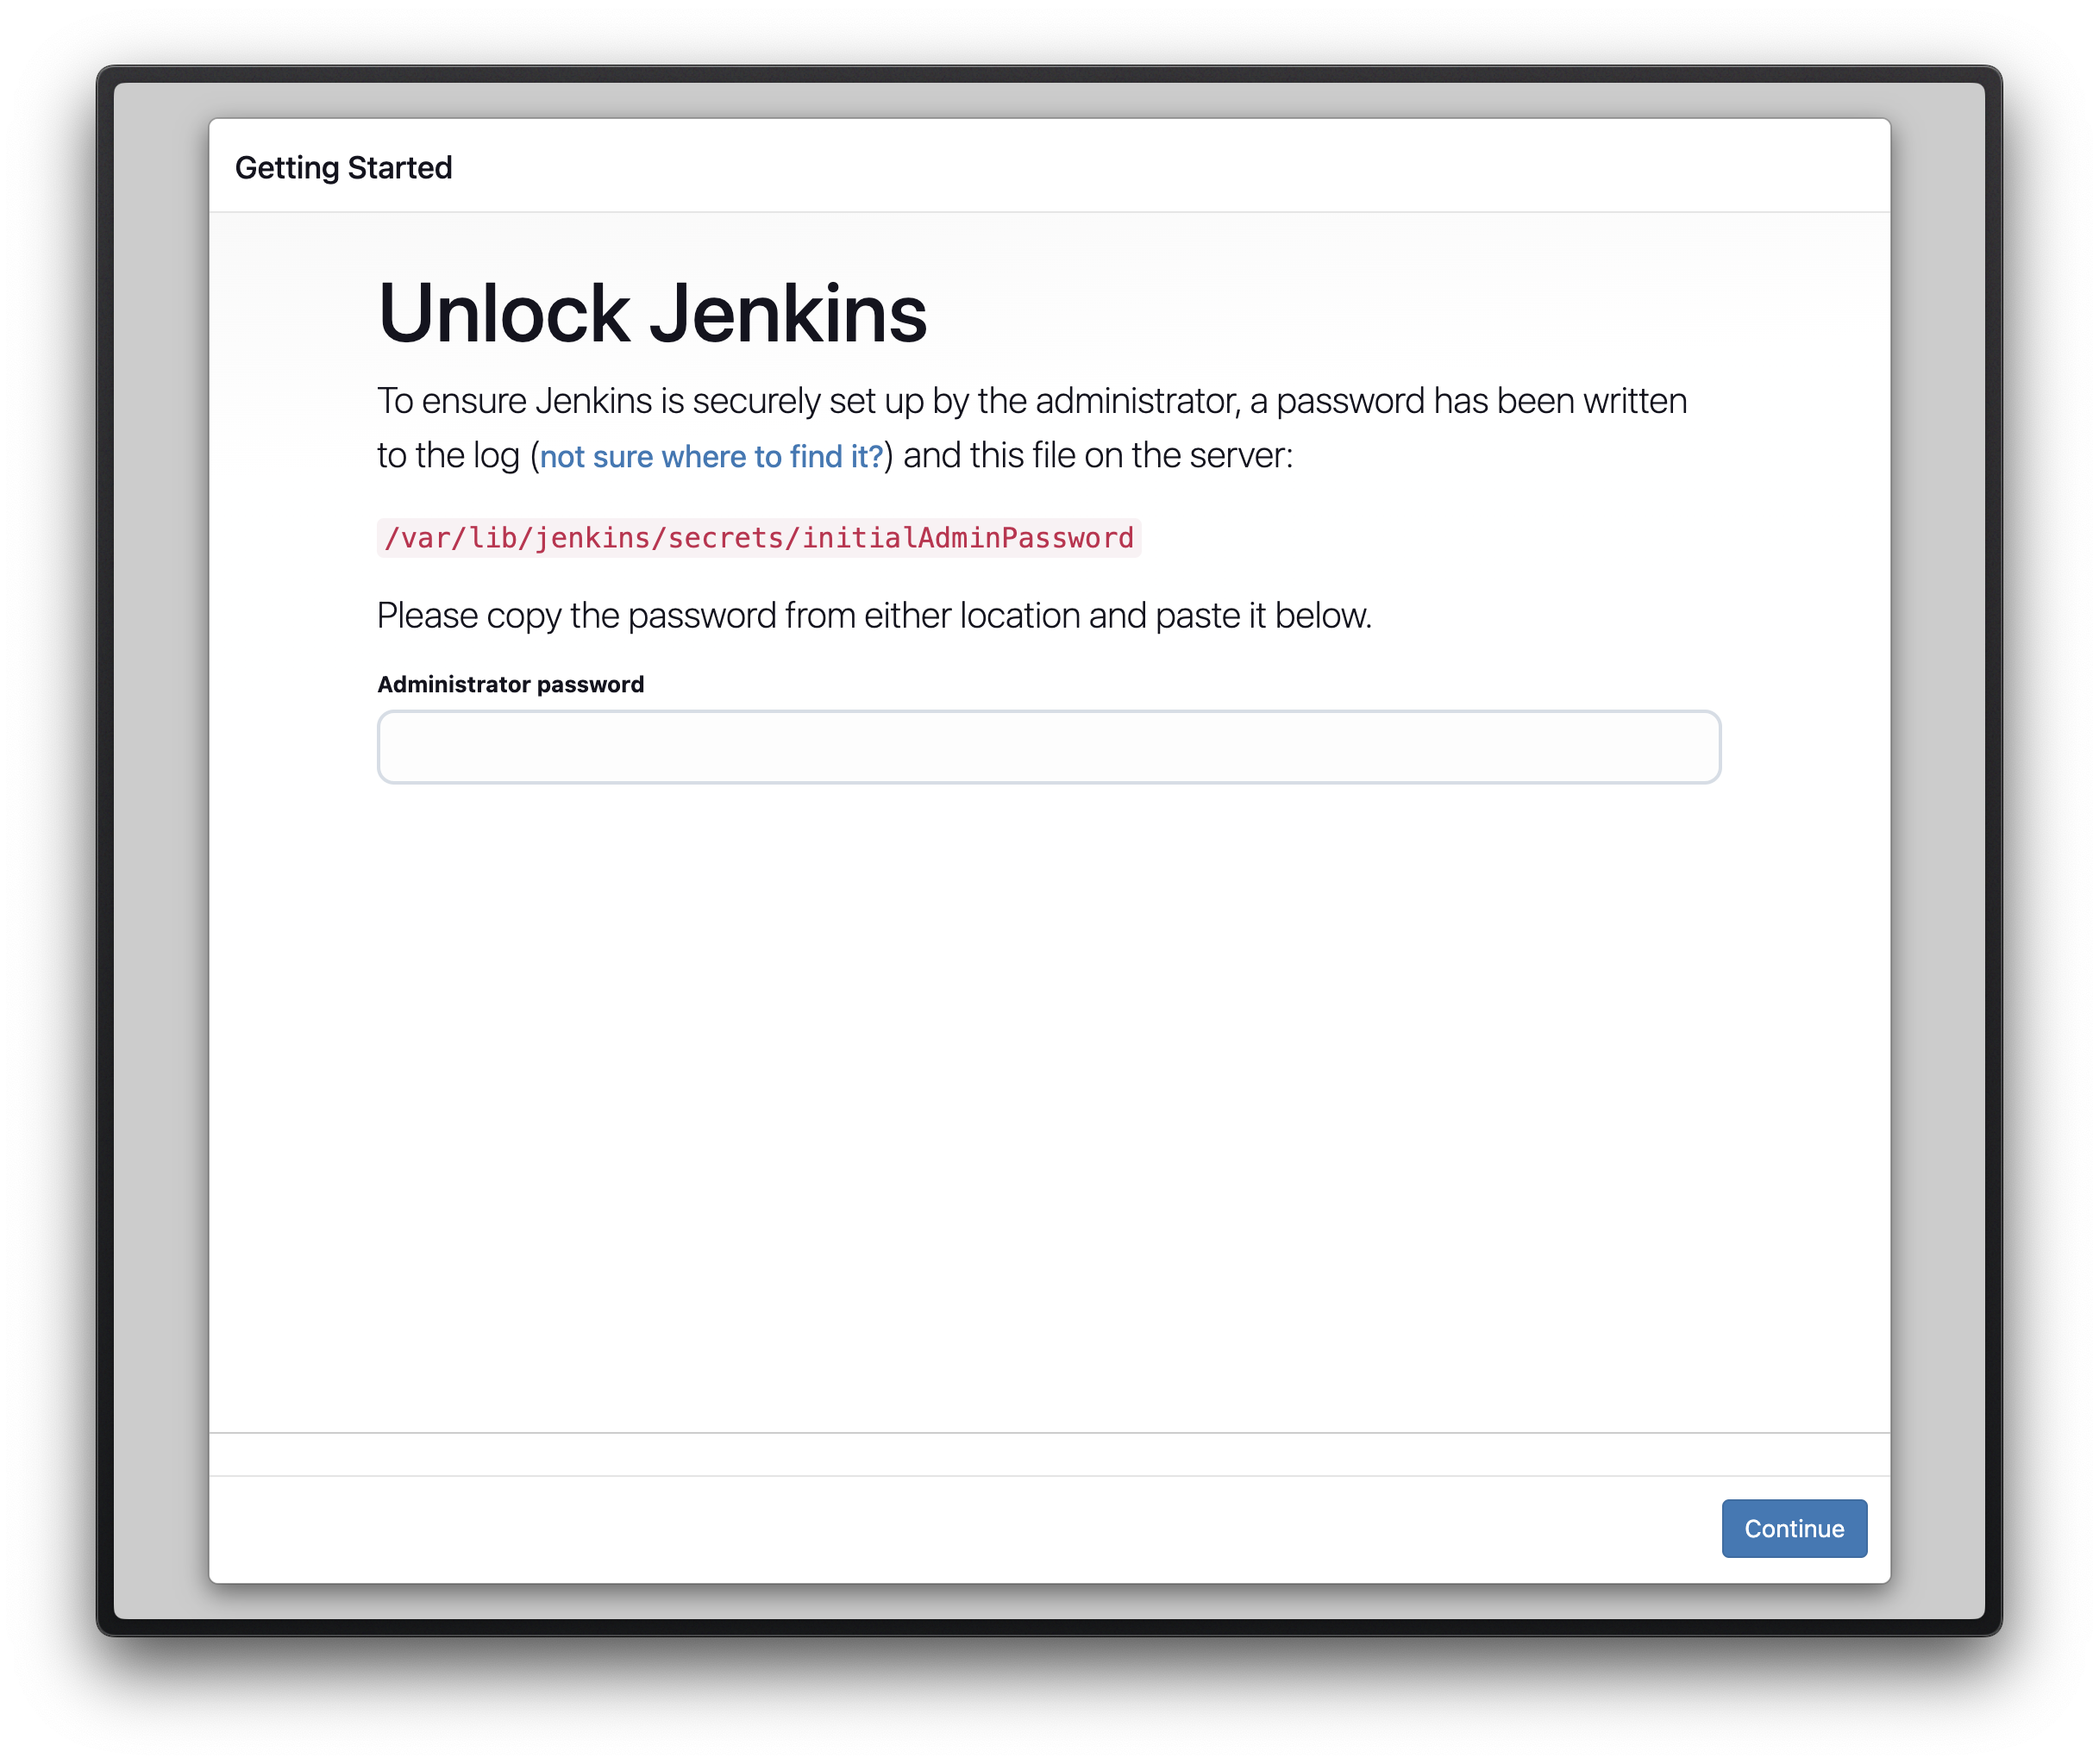
sudo cat /var/lib/jenkins/secrets/initialAdminPassword명령어를 통해 출력된 admin 비밀번호로 로그인이 가능하다.
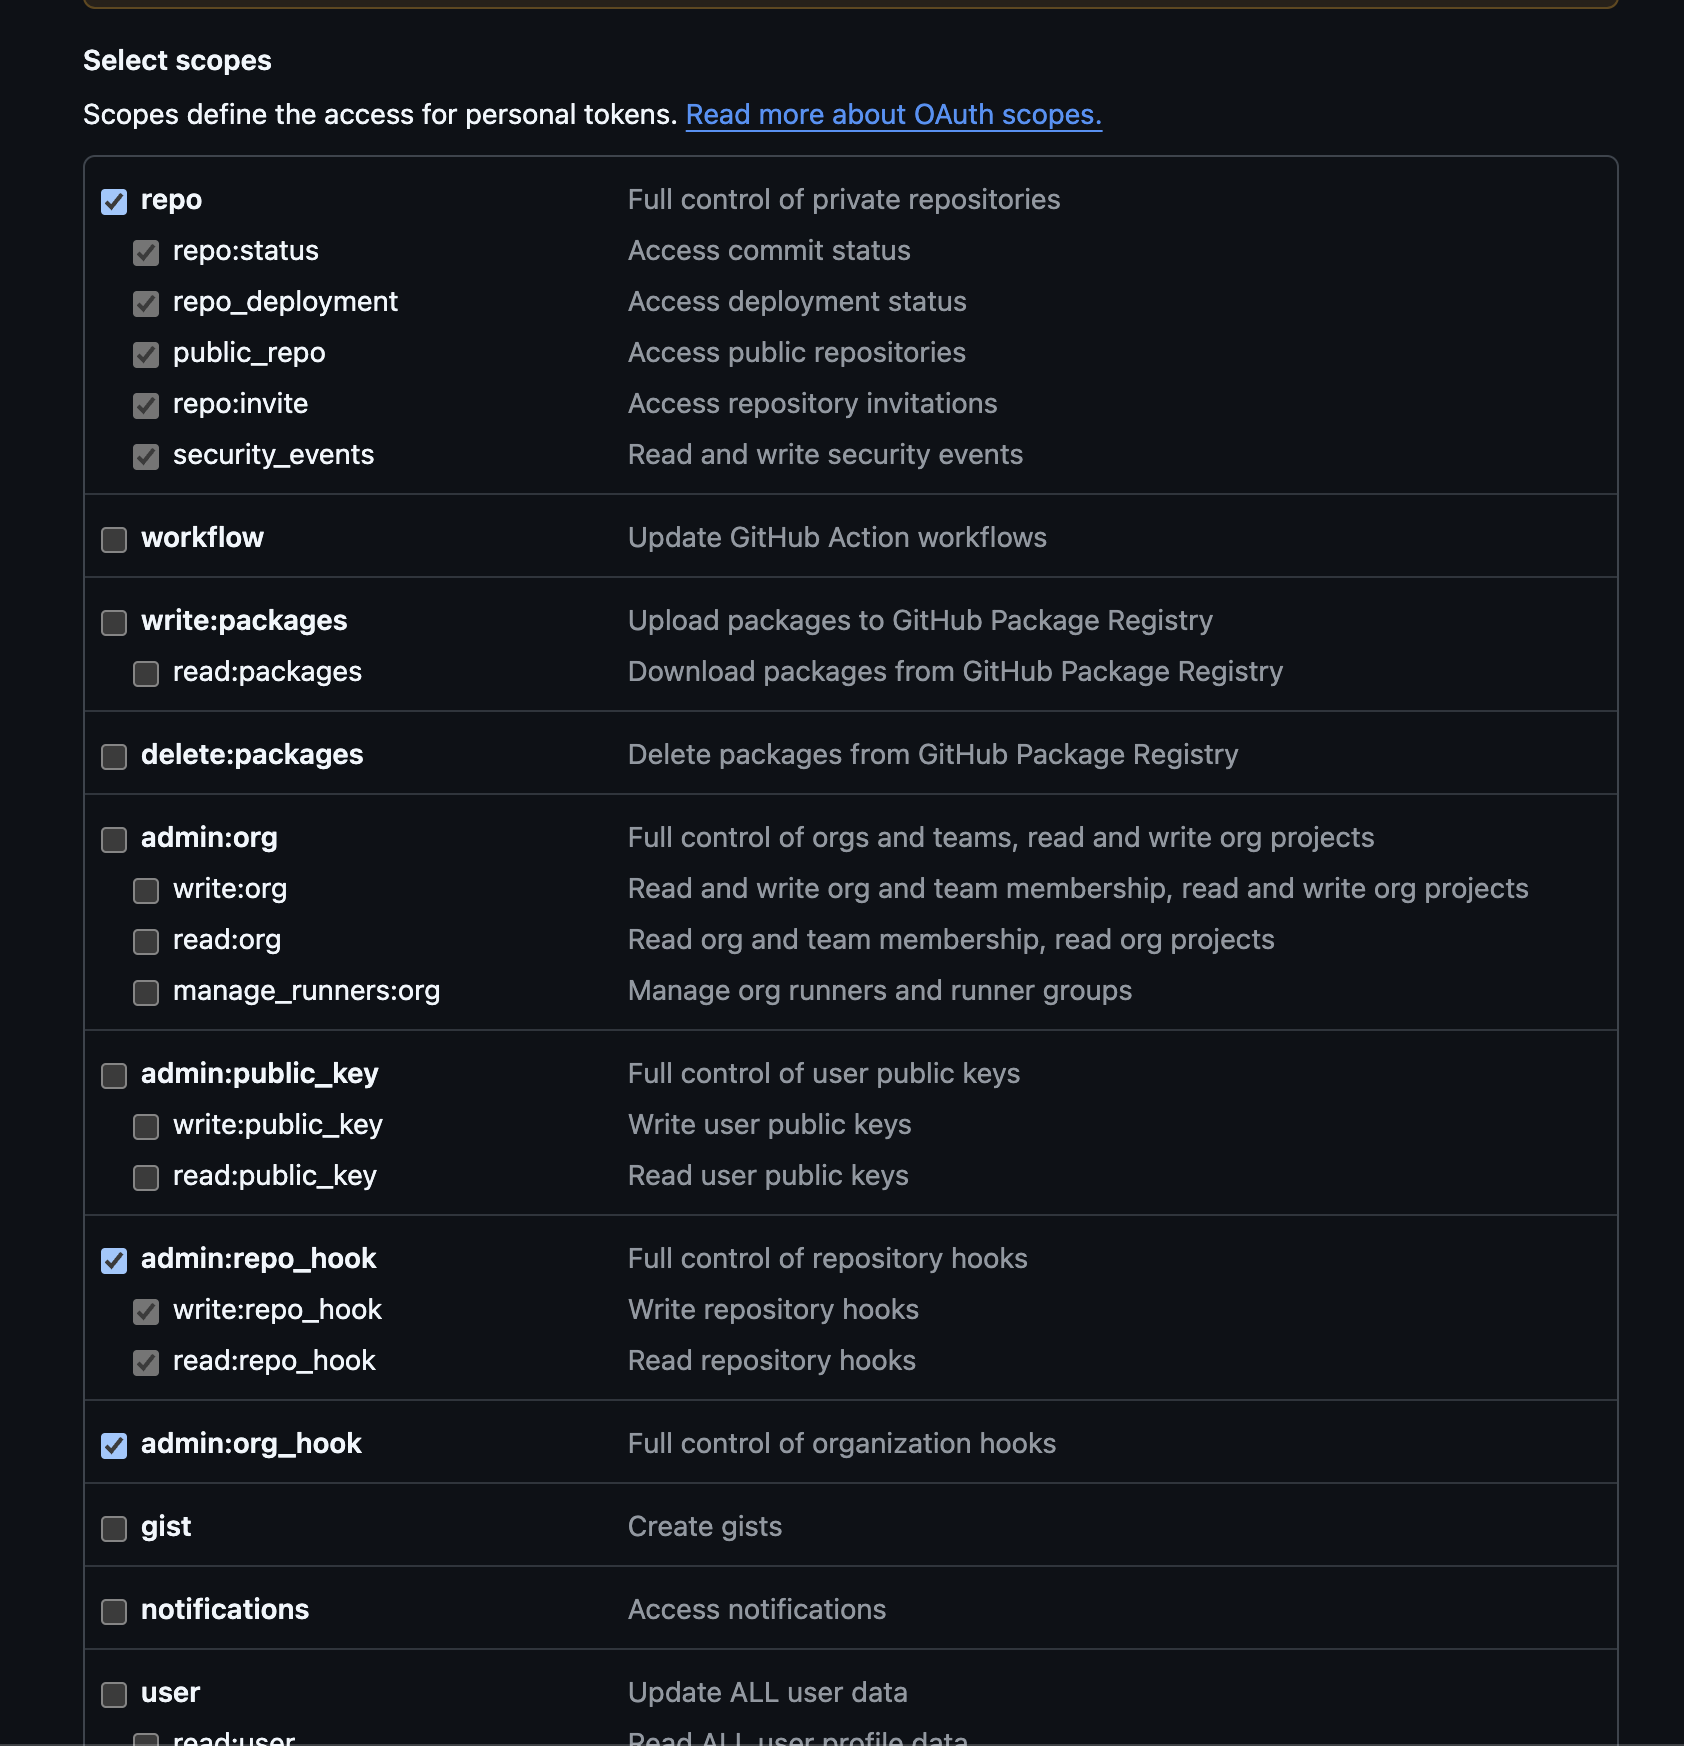
Settings > Developer Settings > Personal access tokens (classic) > Generate new token (classic)
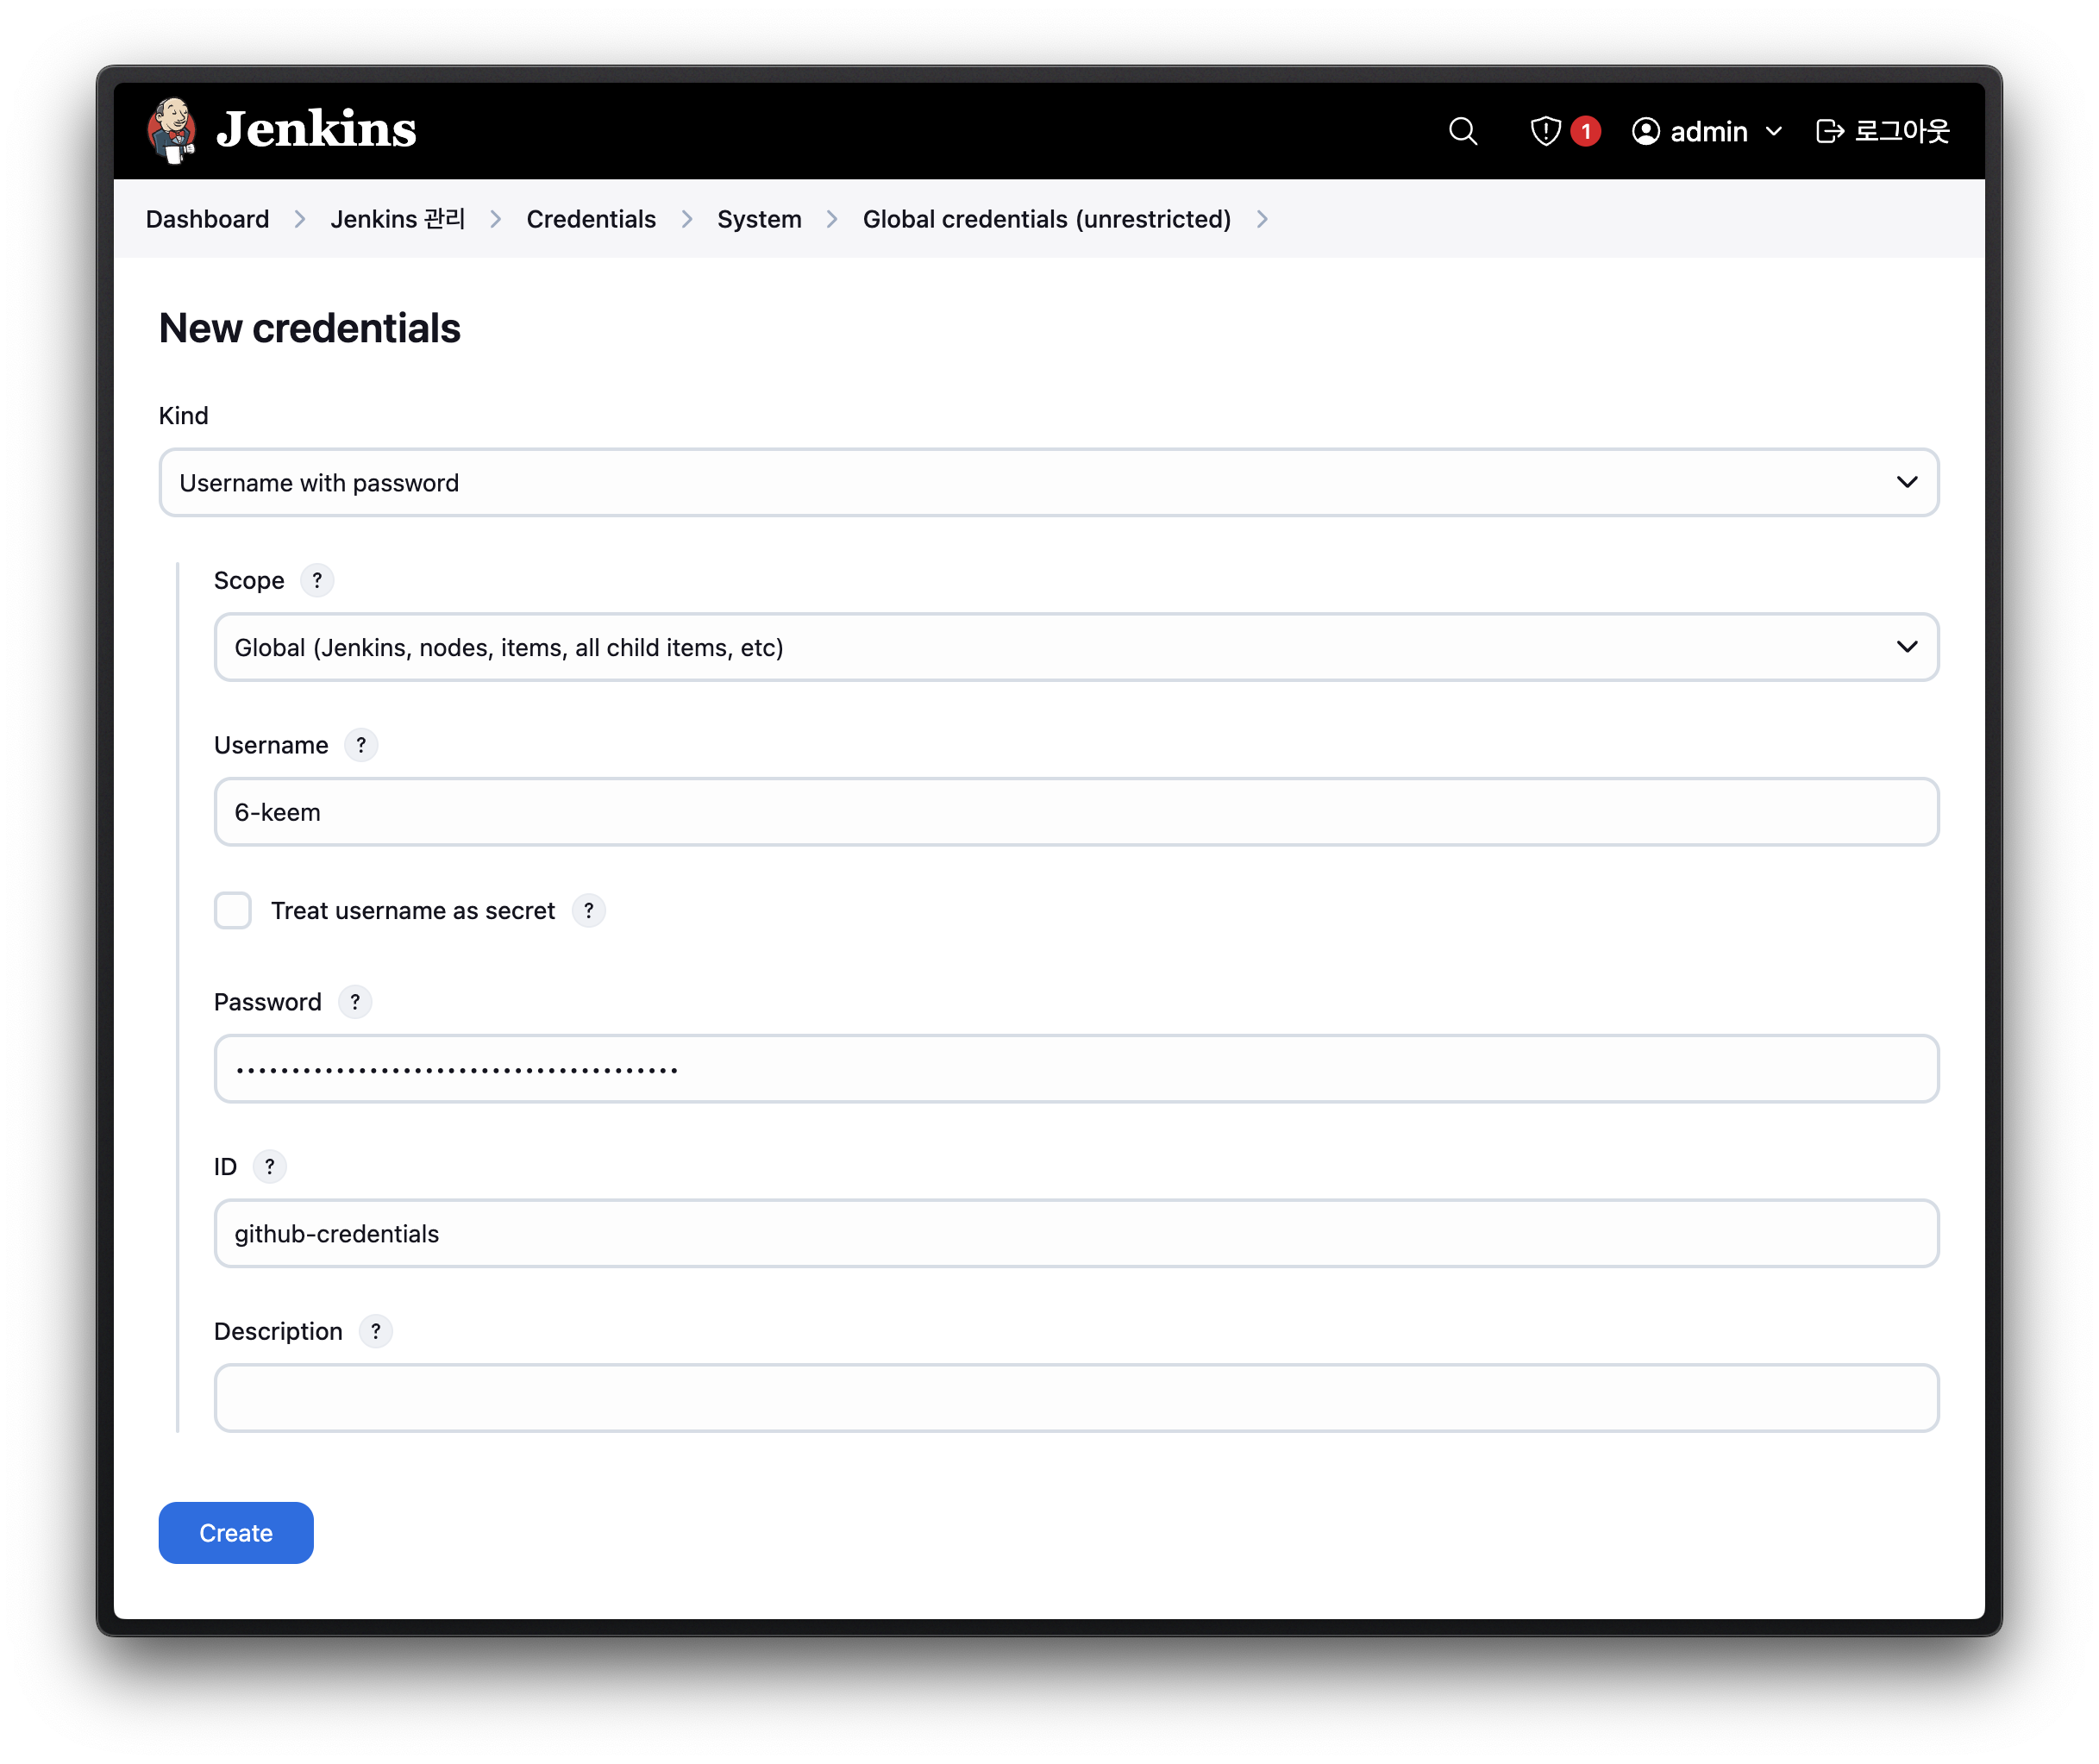
jenkins 관리 > Credentials > System > Glabal credentials > Add Credentials
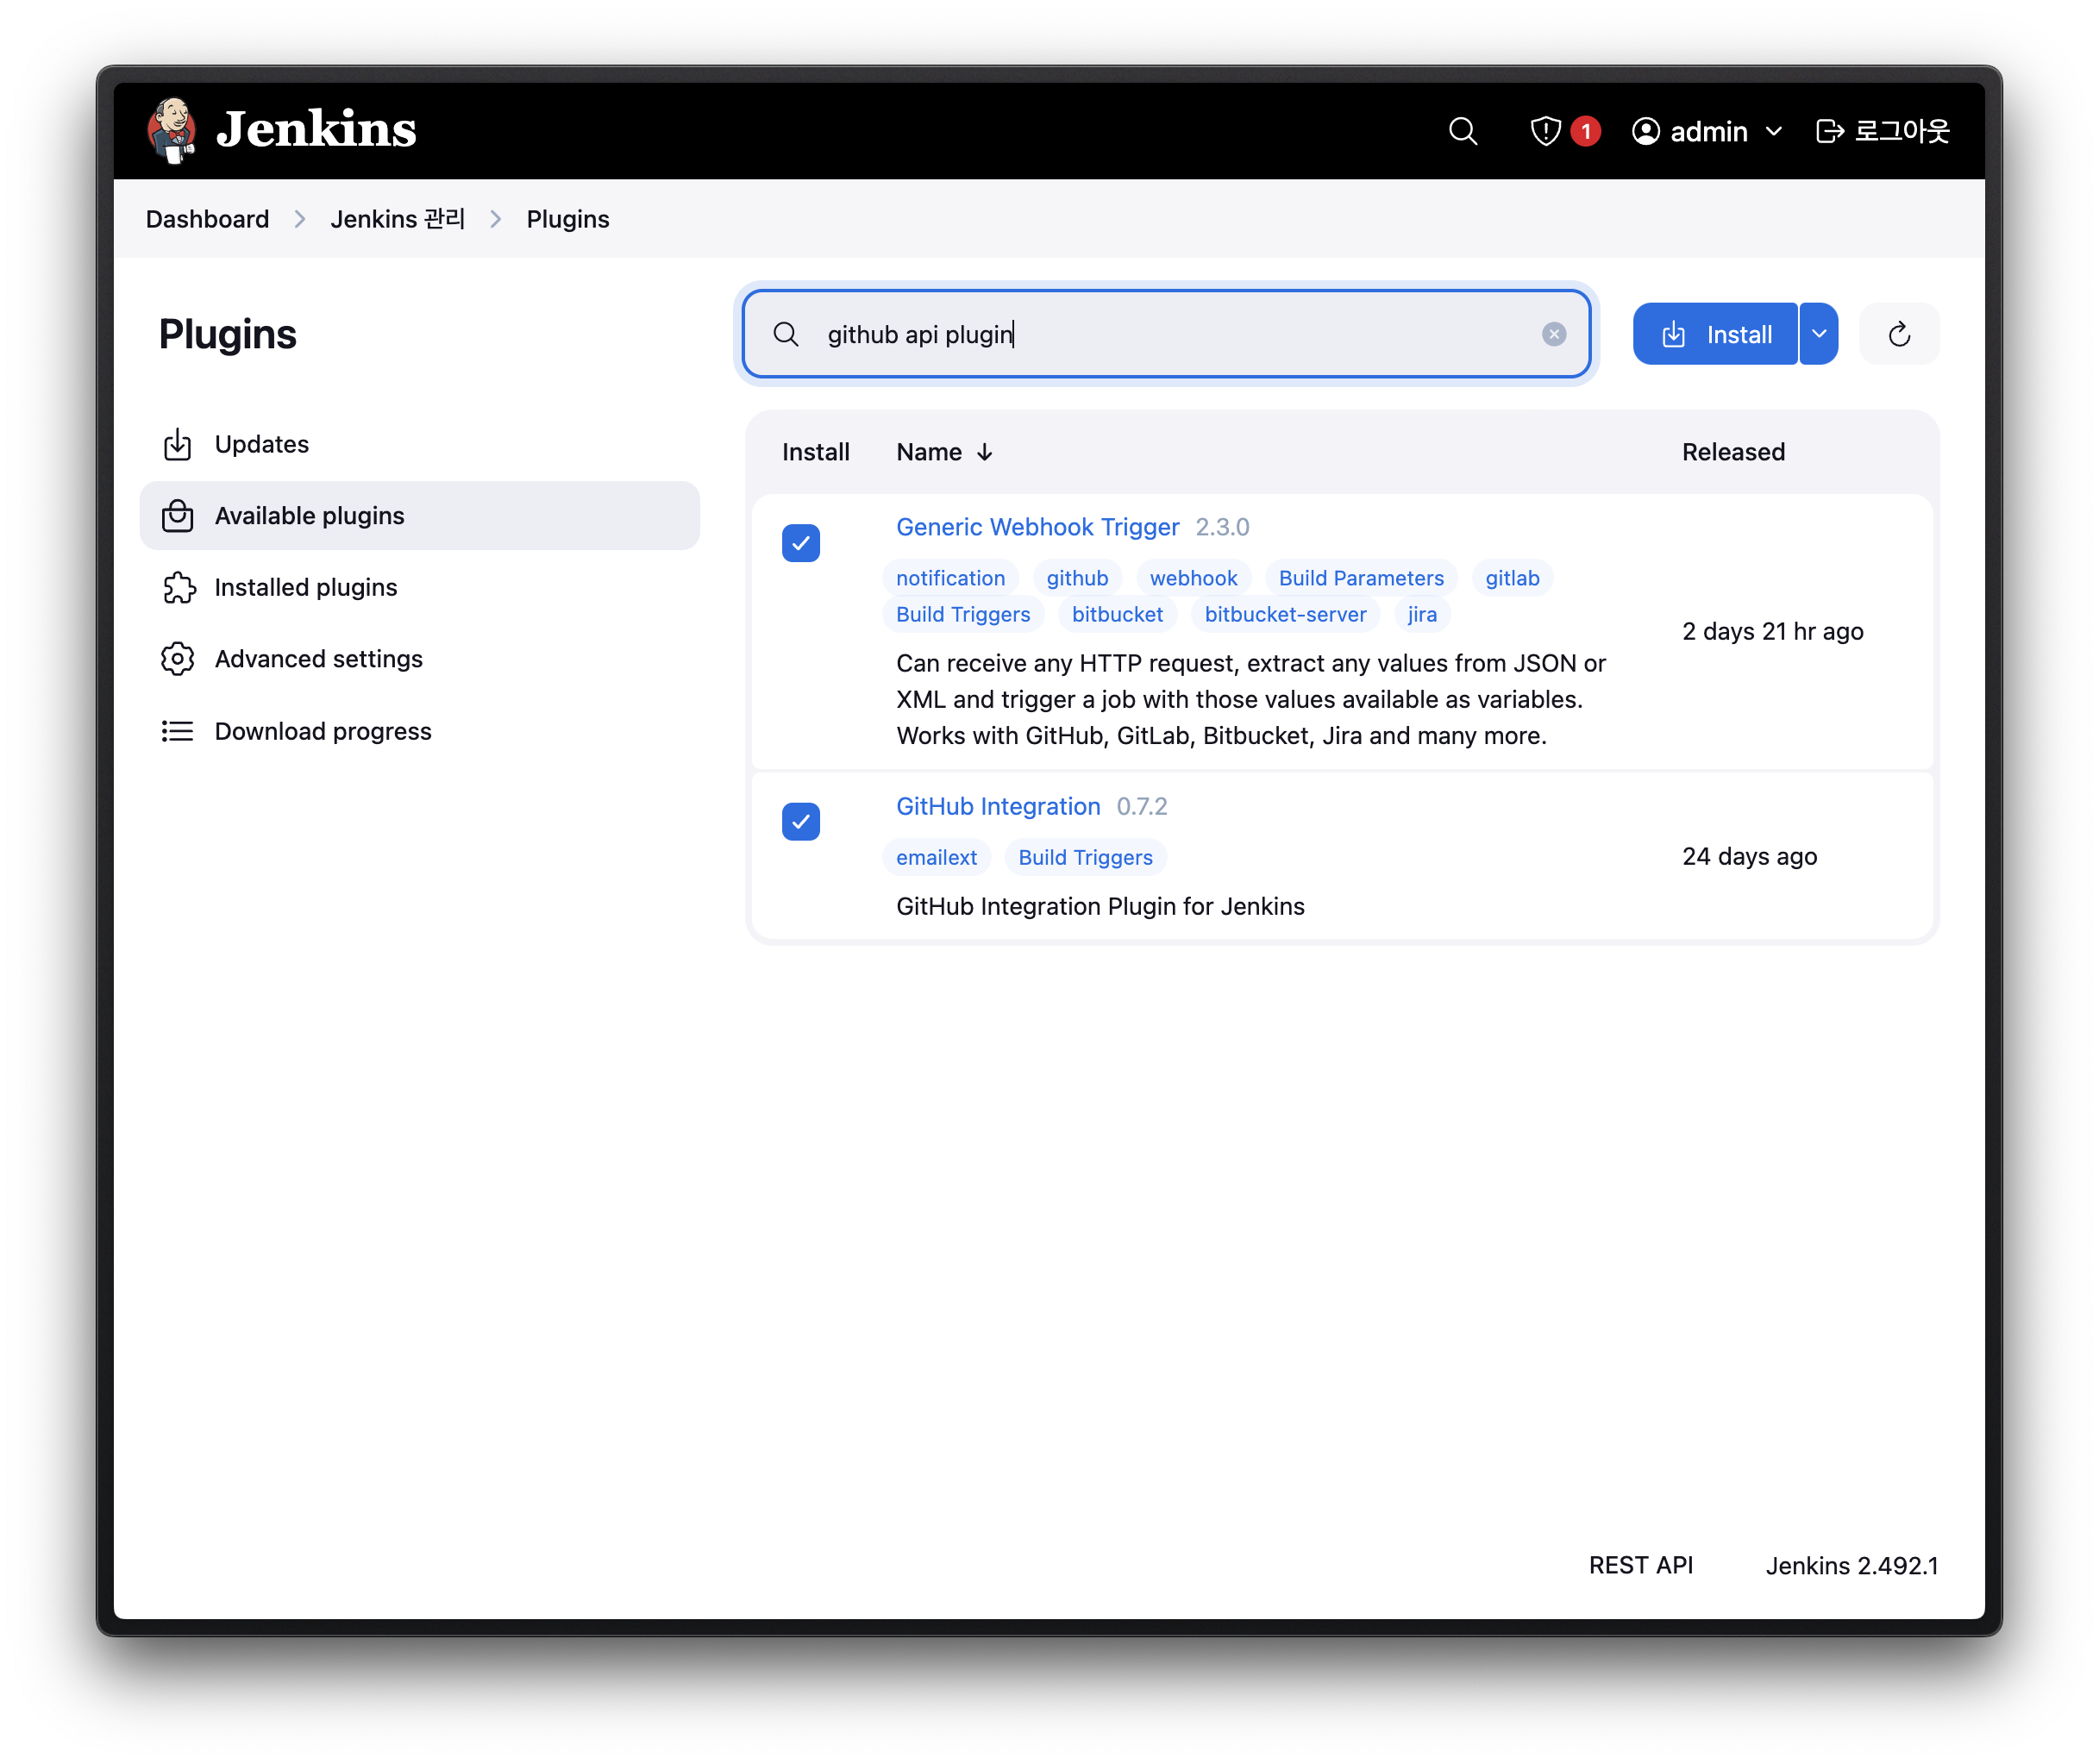
GitHub API Plugin
Generic Integration
Generic Webhook Trigger
SSH Agent Plugin
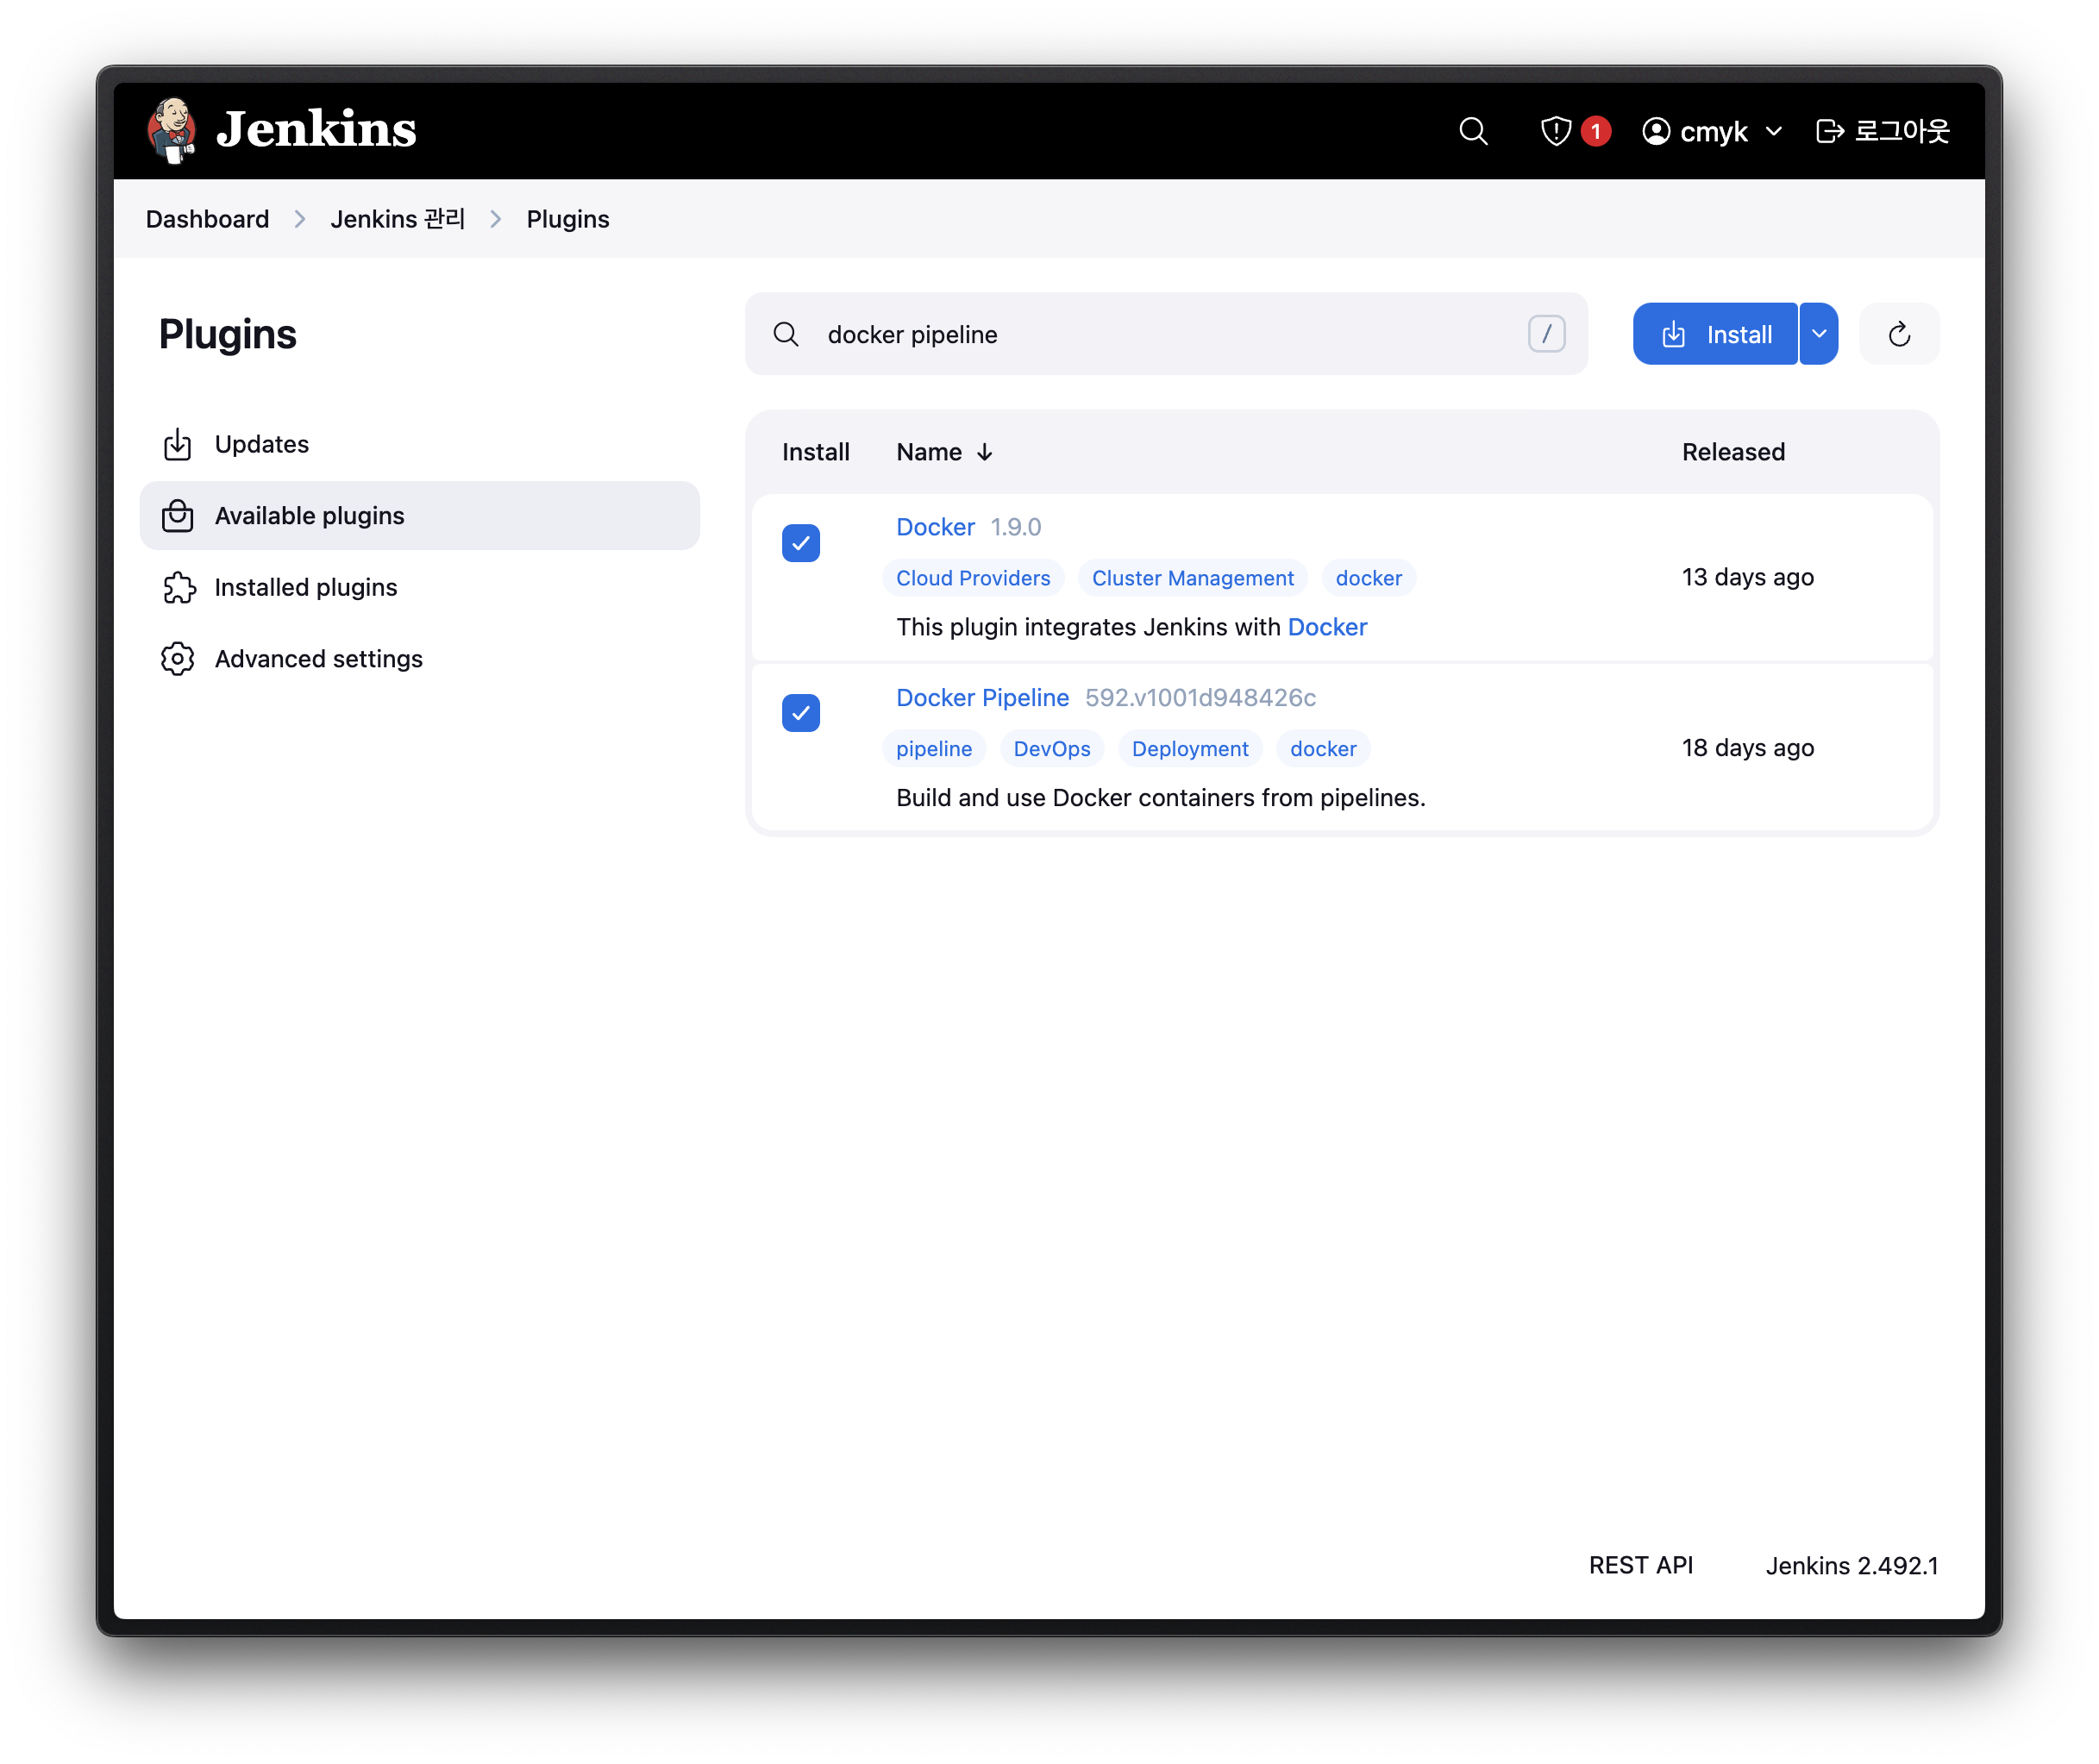
Docker
Docker Pipeline
 |  |
|---|
Settings > Webhooks > Add webhook
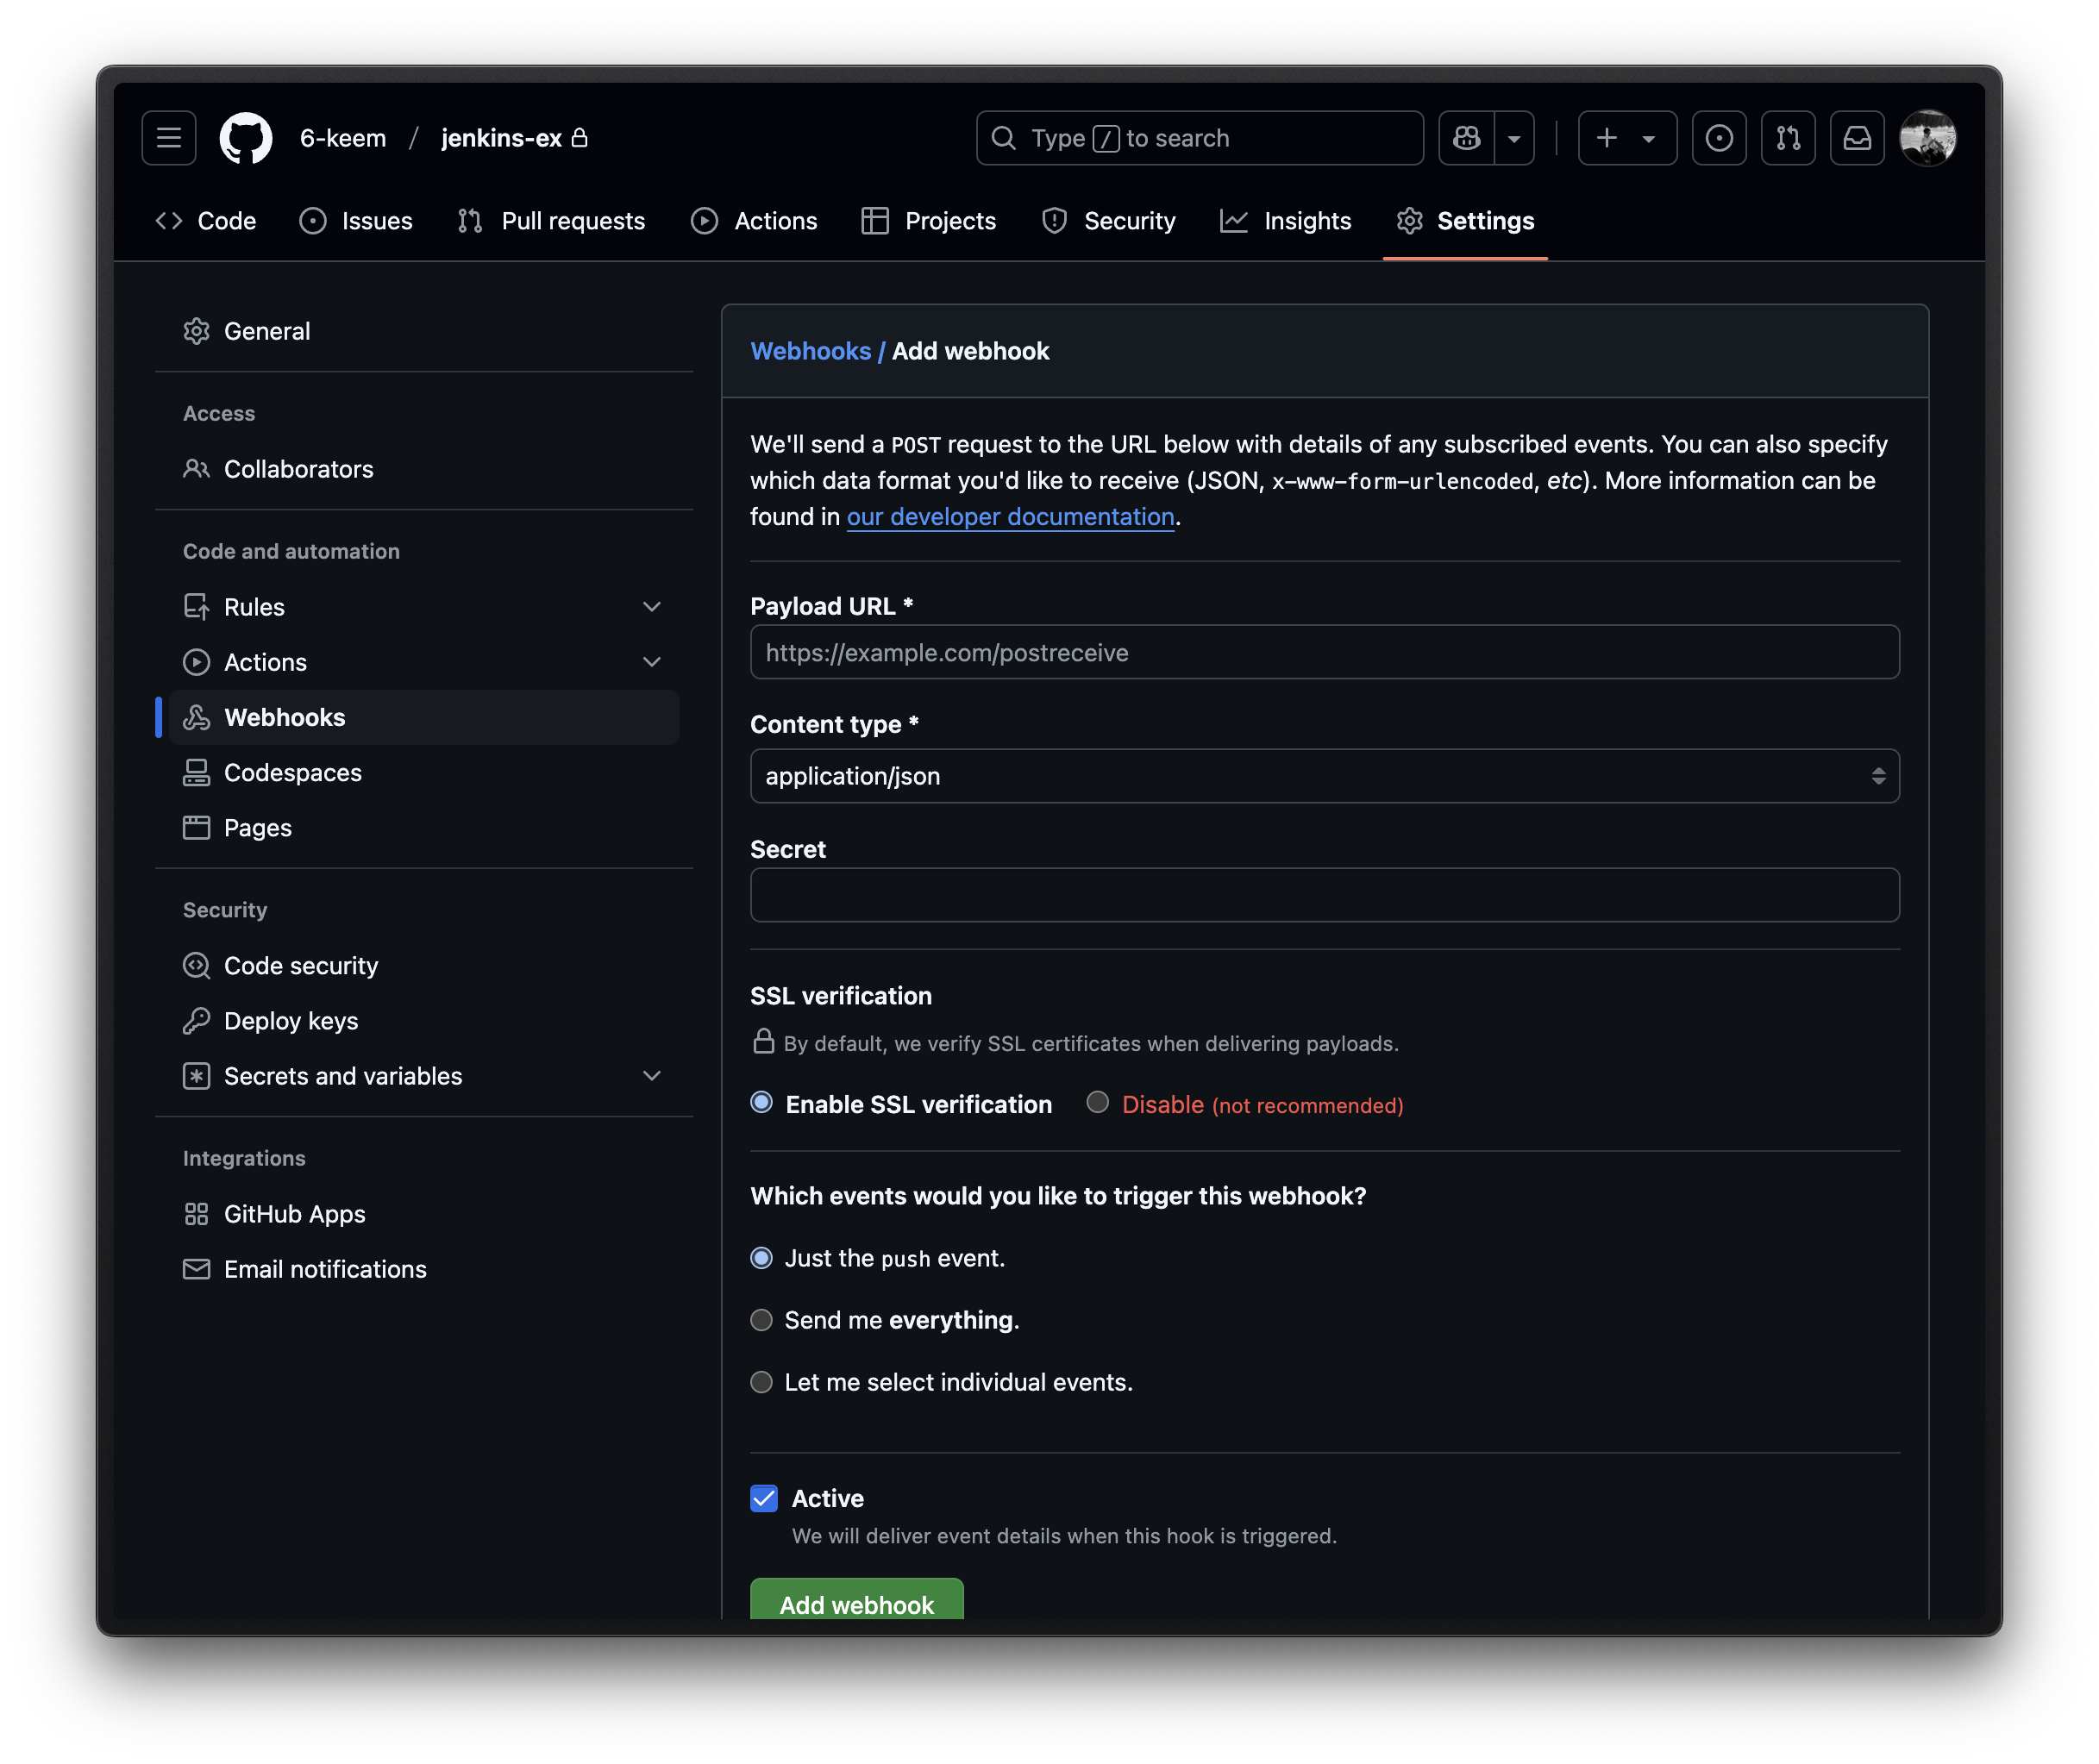
Payload URL 예시 - http://0.0.0.0:8080/github-webhook/ (jenkins 주소)
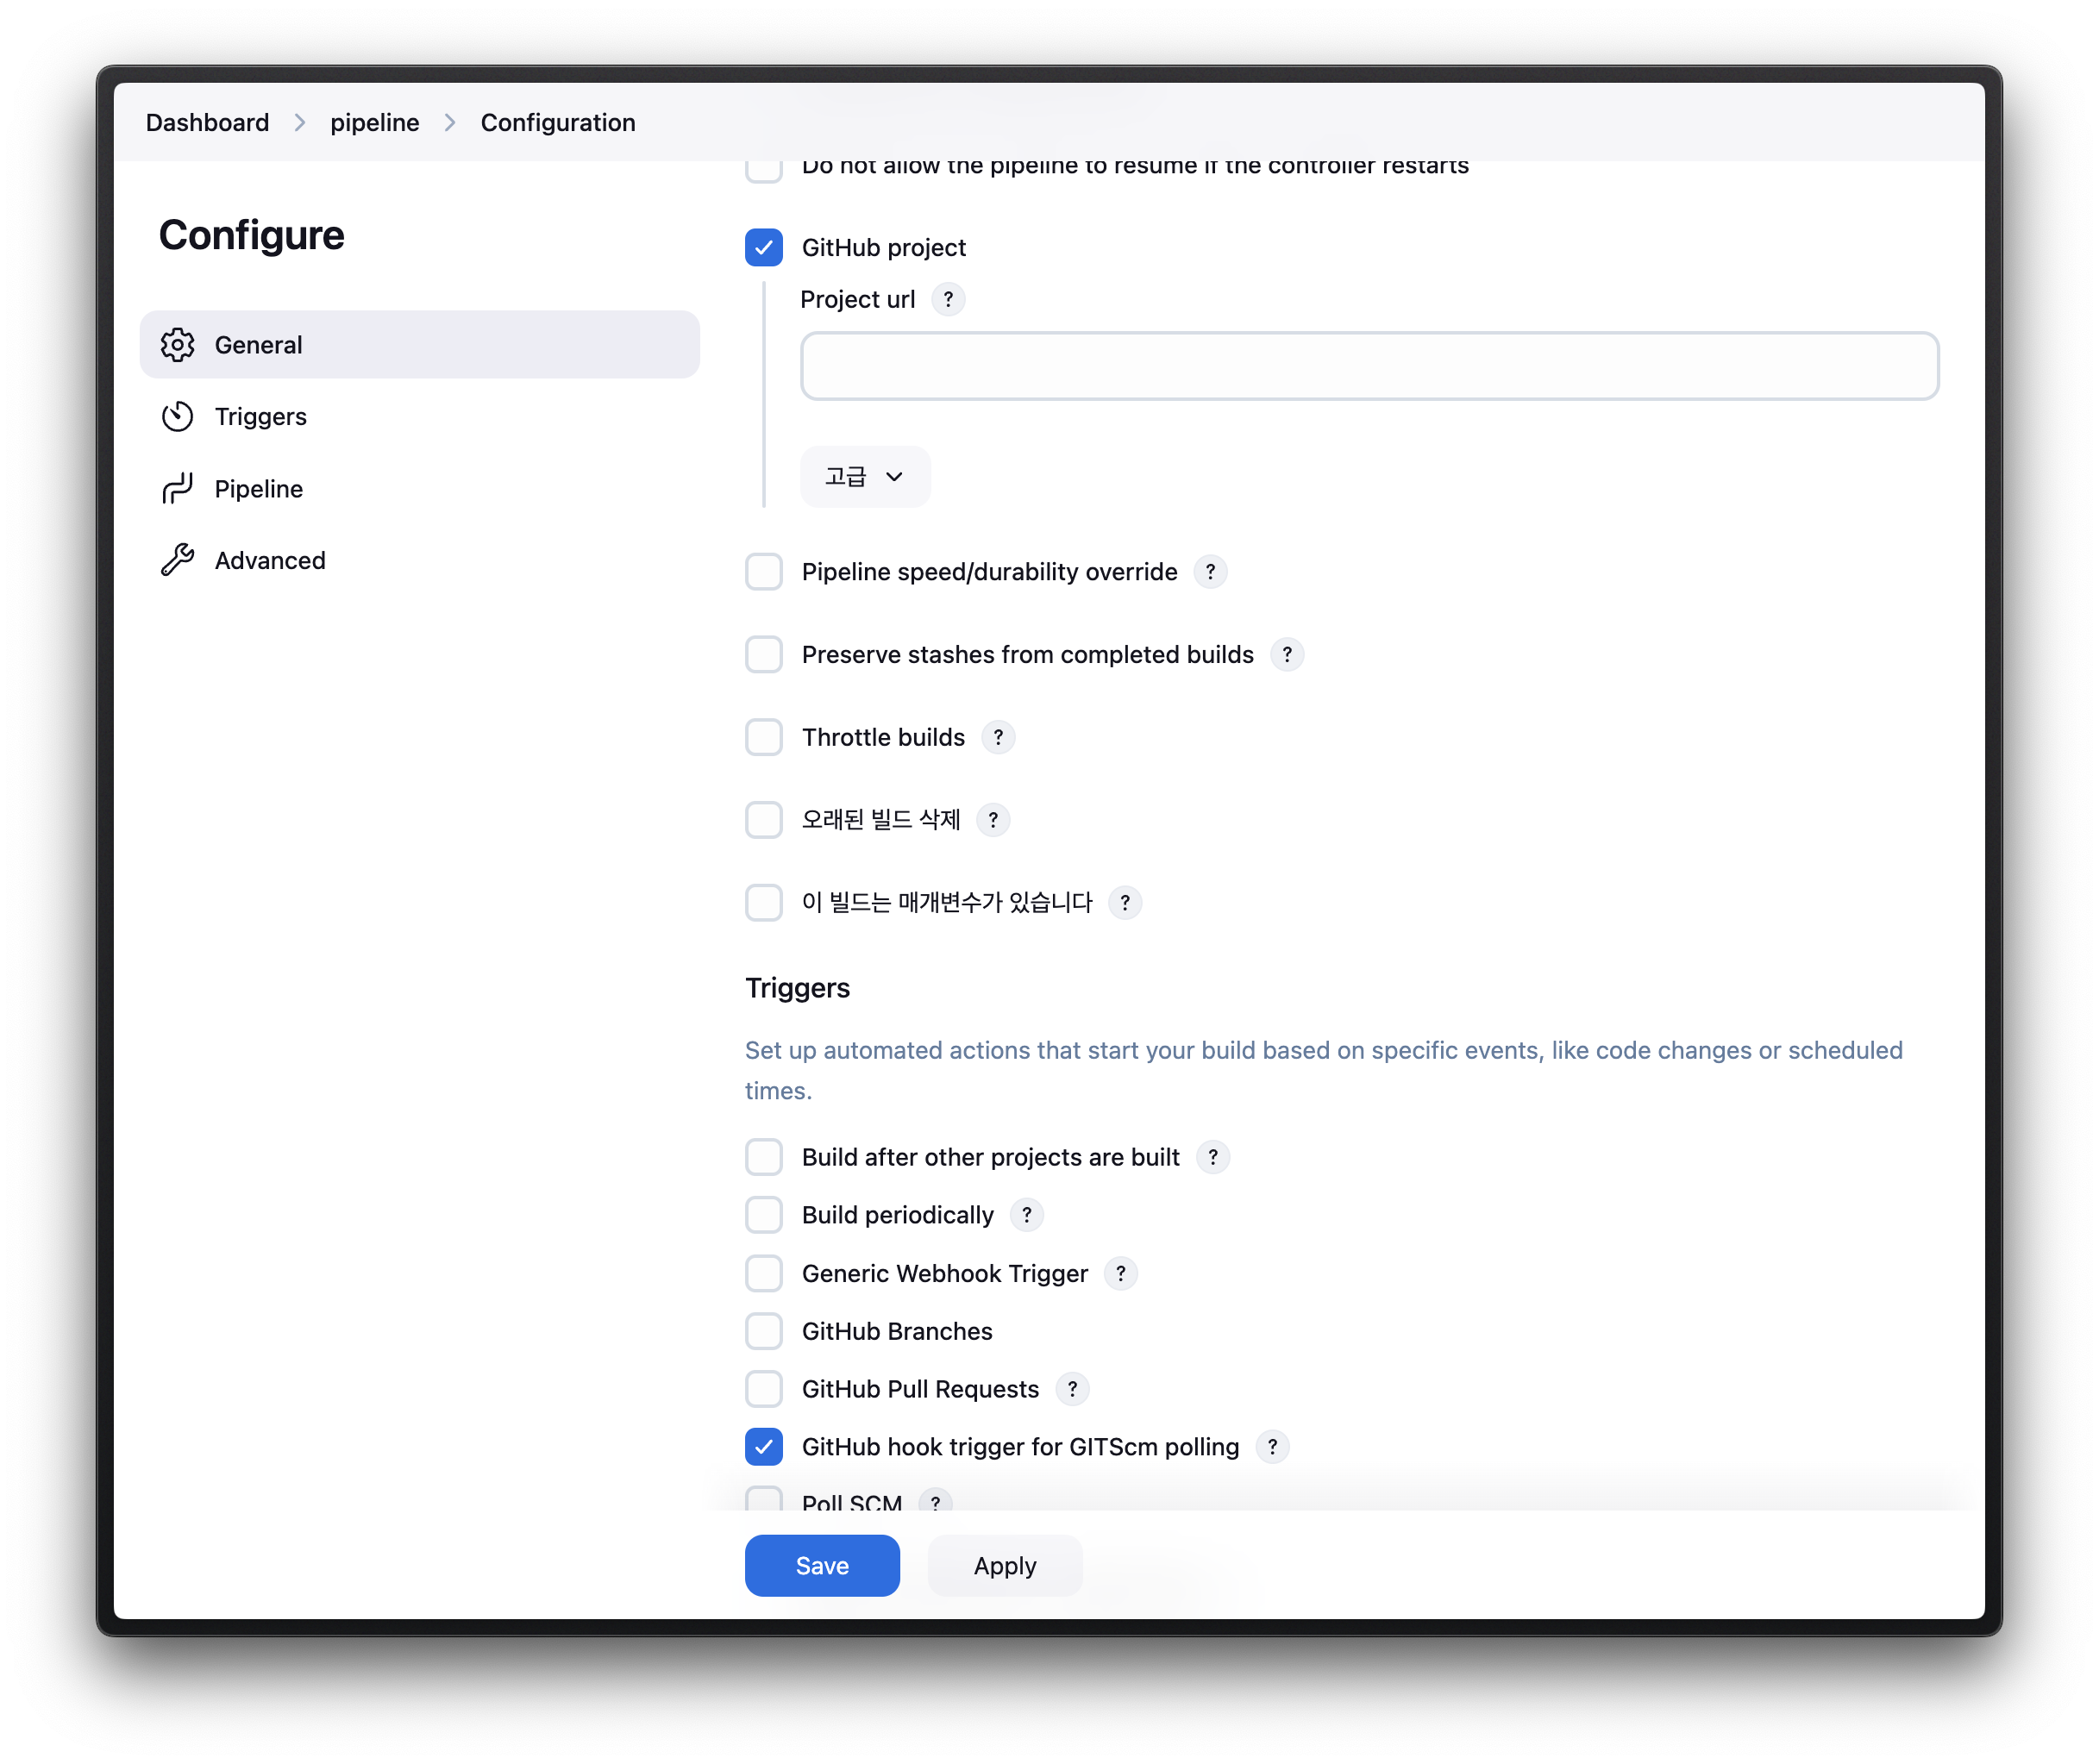
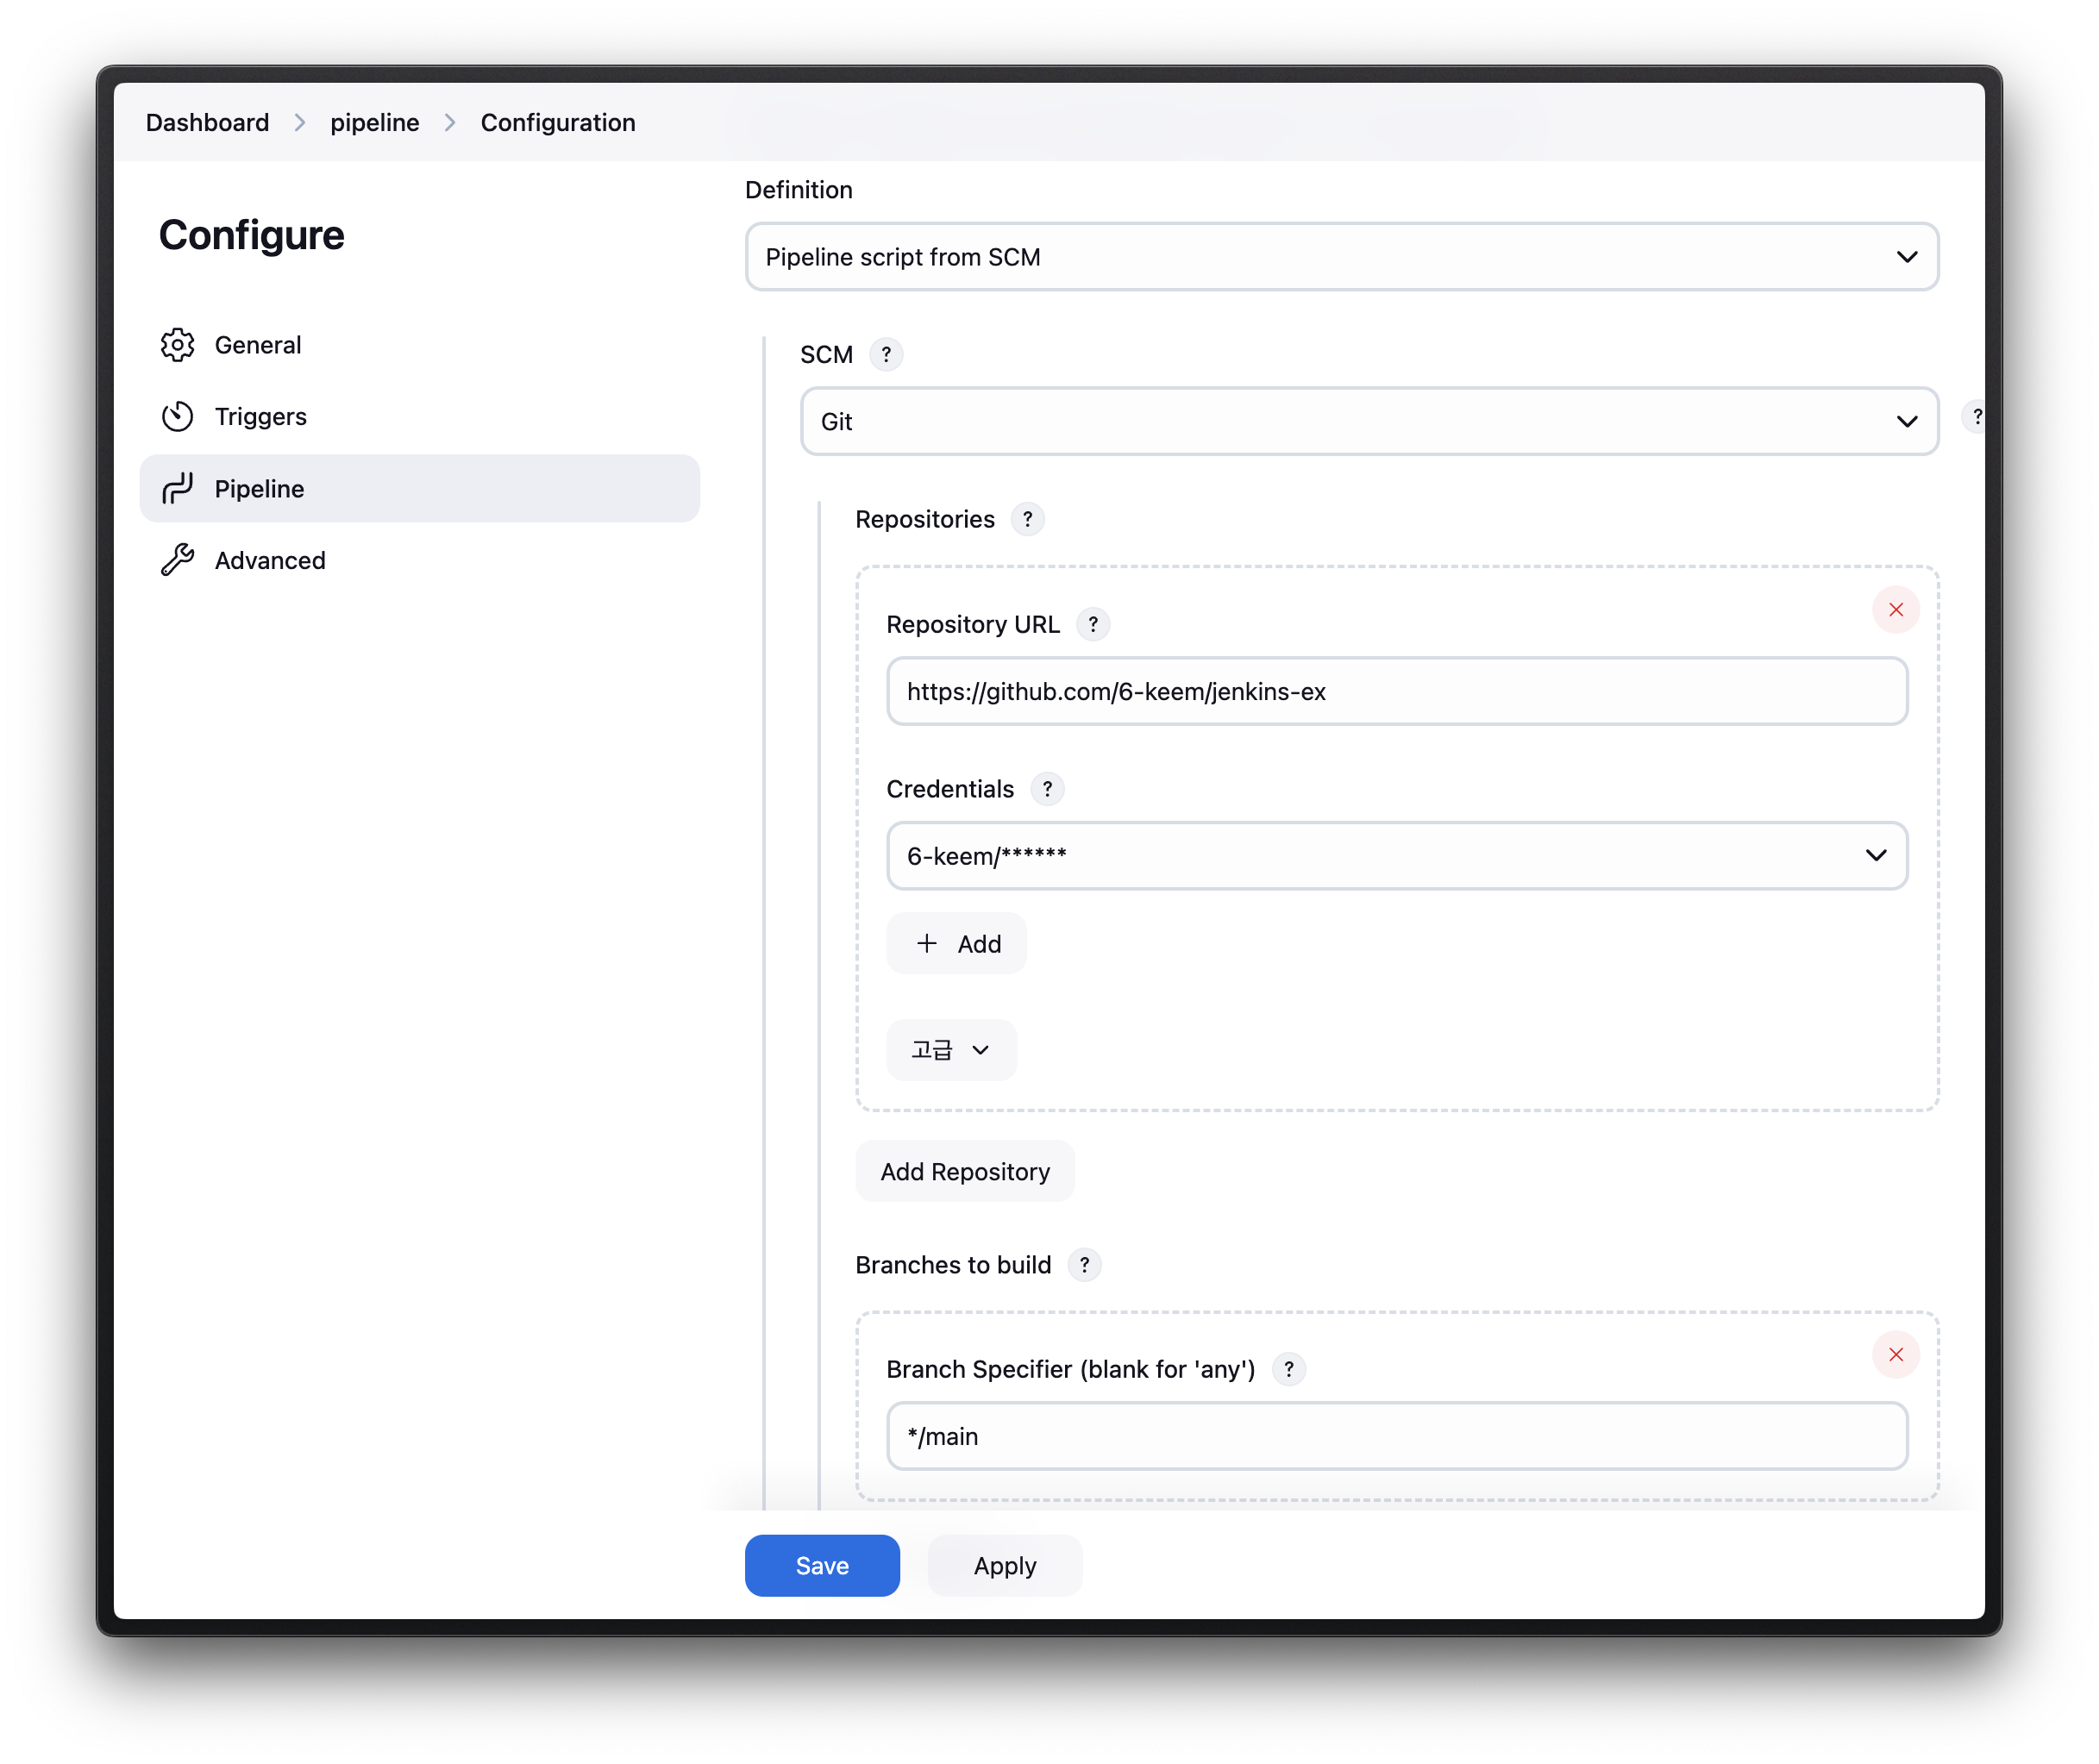
new items > pipeline
 |  |
|---|
사진과 같이 선택하고 GitHub 레포지토리 URL을 넣으면 된다.
pipeline {
    agent any

    environment {
        JAVA_HOME = "/usr/lib/jvm/java-17-amazon-corretto"
        GRADLE_HOME = "/opt/gradle/gradle-8.12"
        PATH = "${JAVA_HOME}/bin:${GRADLE_HOME}/bin:${env.PATH}"
        IMAGE_NAME = "도커 닉네임/생성할 이미지 이름"
    }

    triggers {
        githubPush()
    }

    stages {

        stage('git clone') {
            steps {
                git branch: 'main', credentialsId: 'github-credentials', url: '본인 레포지토리'
            }
        }

        stage('빌드 실행') {
            steps {
                sh "./gradlew clean build --no-daemon"
            }
        }

        stage('이미지 빌드') {
            steps {
                script {
                    dockerImage = docker.build("${env.IMAGE_NAME}:${env.BUILD_NUMBER}")
                }
            }
        }

        stage('도커 허브에 푸시') {
            steps {
                script {
                    docker.withRegistry('https://index.docker.io/v1/', 'docker-hub-credential') {
                        dockerImage.push()
                    }
                }
            }
        }

        stage('빌드한 이미지 삭제') {
            steps {
                script {
                    sh "docker rmi ${env.IMAGE_NAME}:${env.BUILD_NUMBER}"
                }
            }
        }
    }

    post {
        success {
            echo 'Succeed'
        }
        failure {
            echo 'Failed'
        }
    }
} |  |
|---|
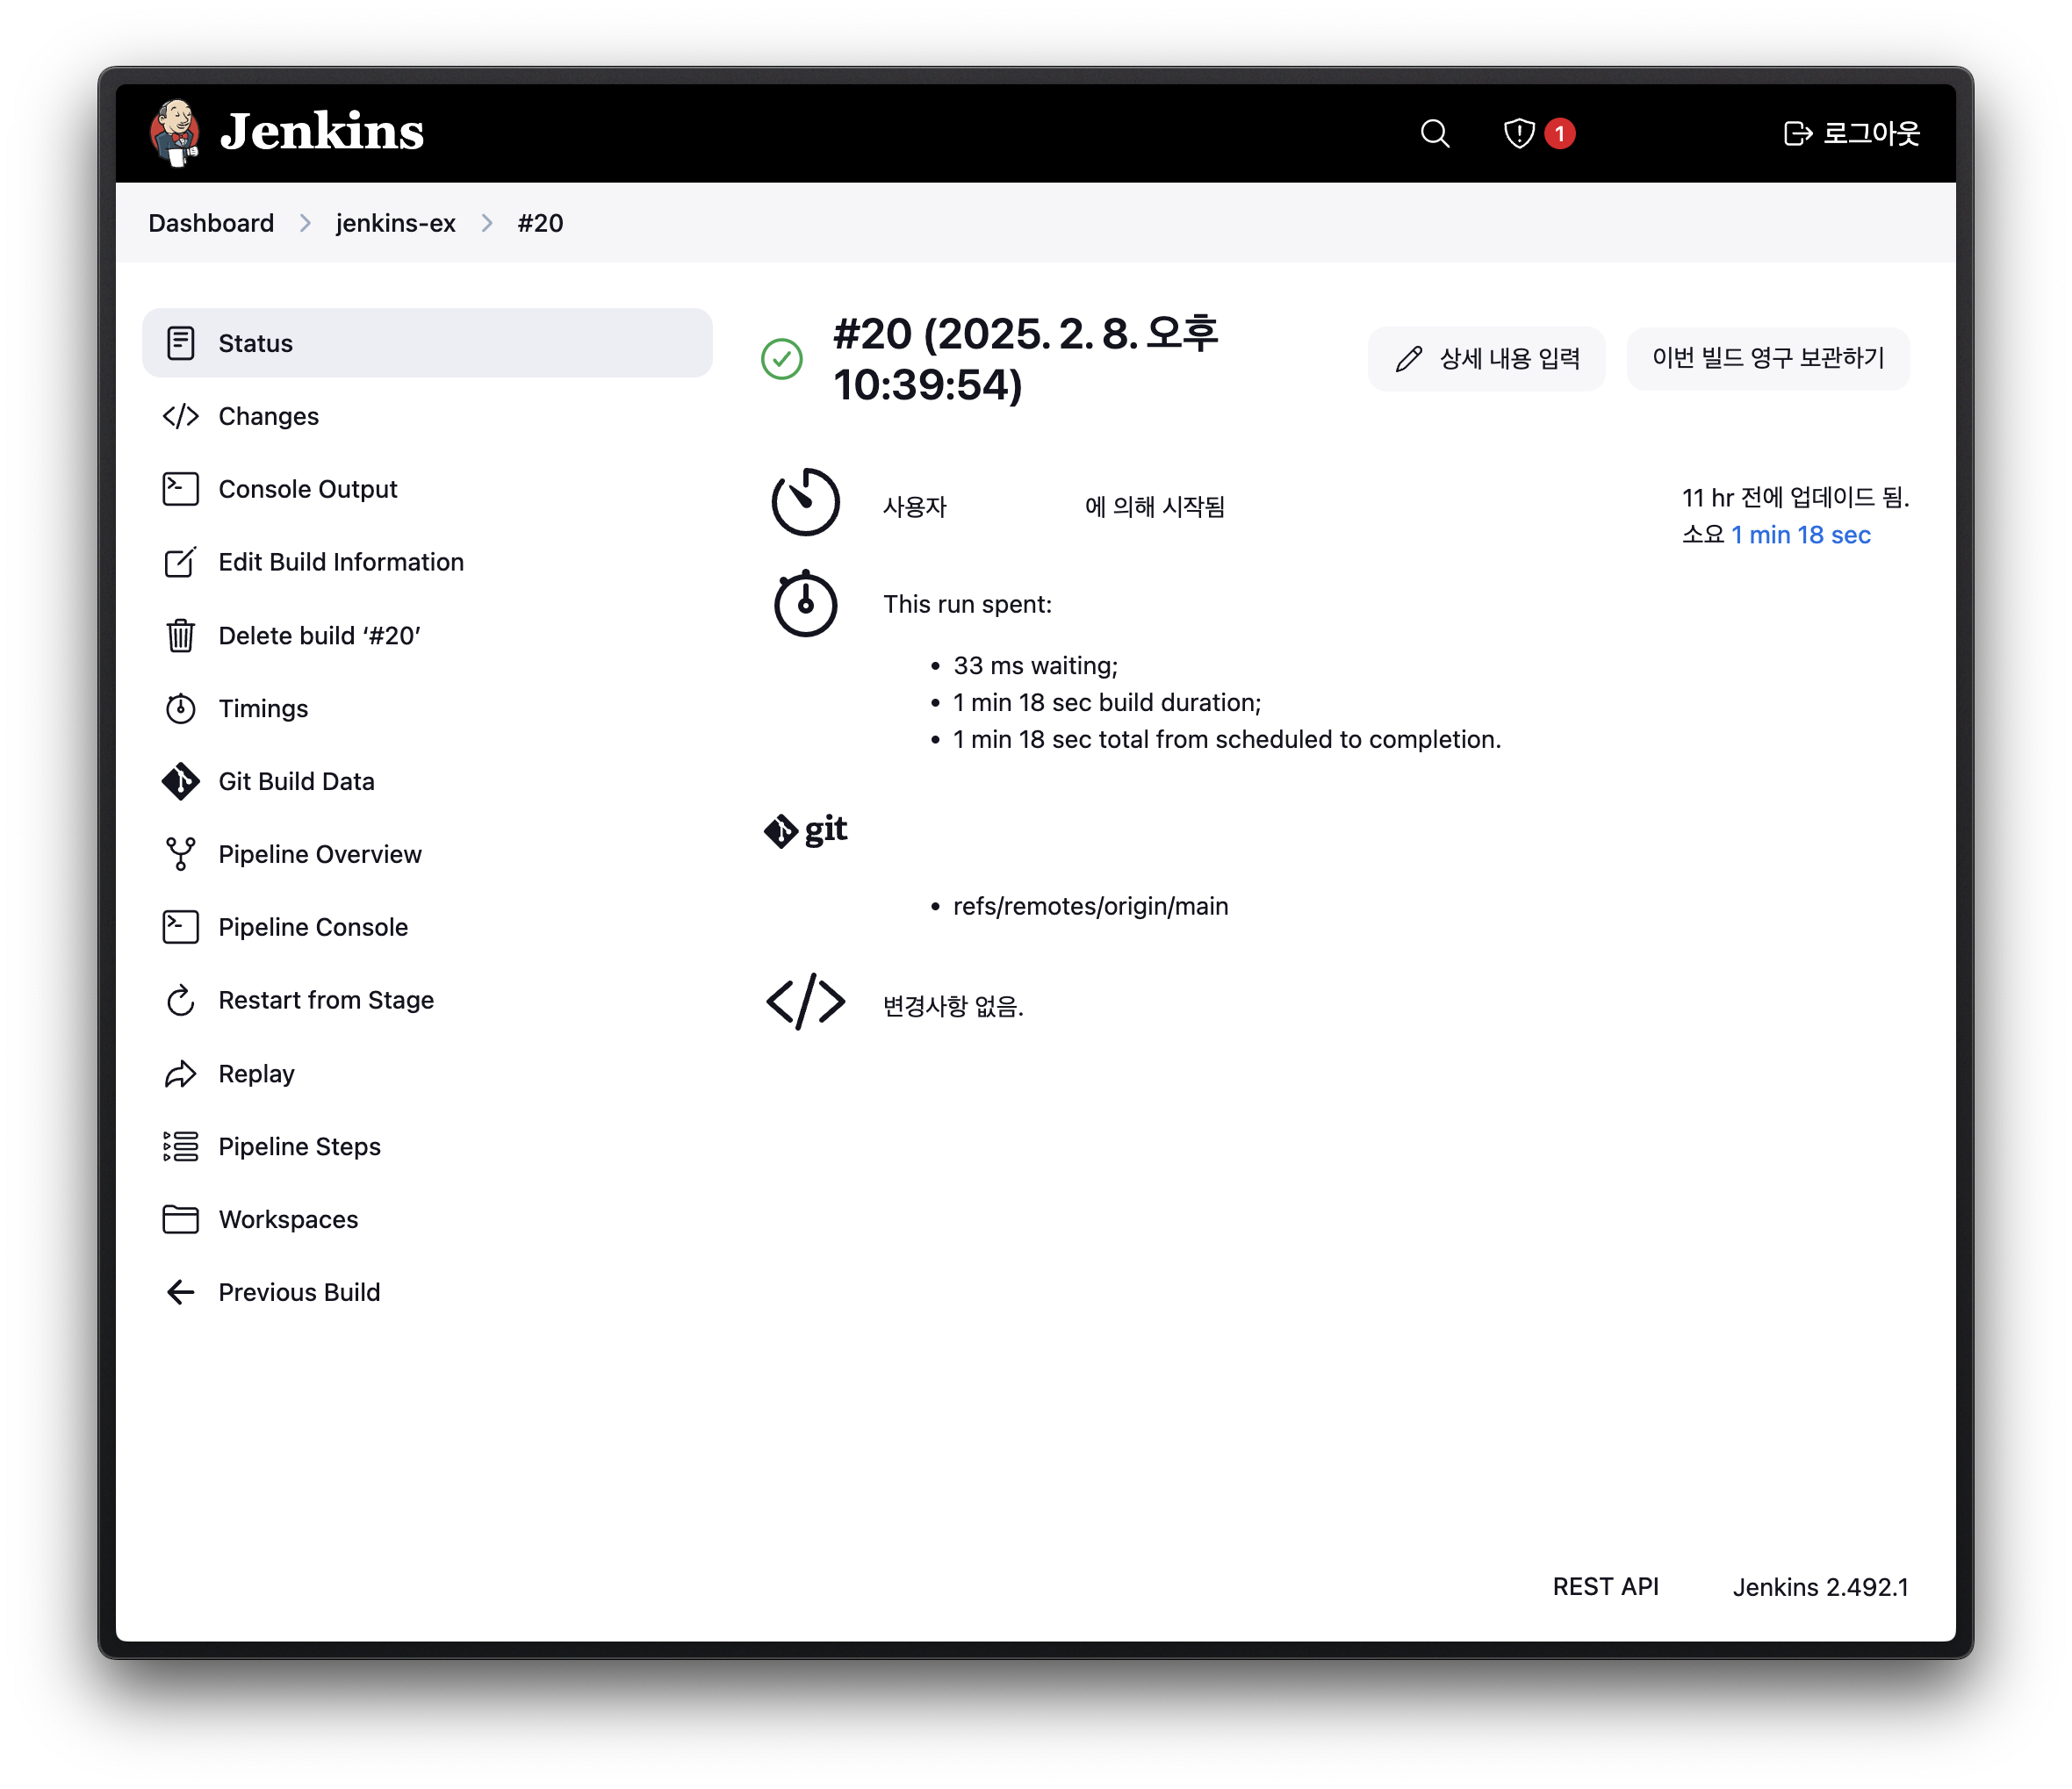
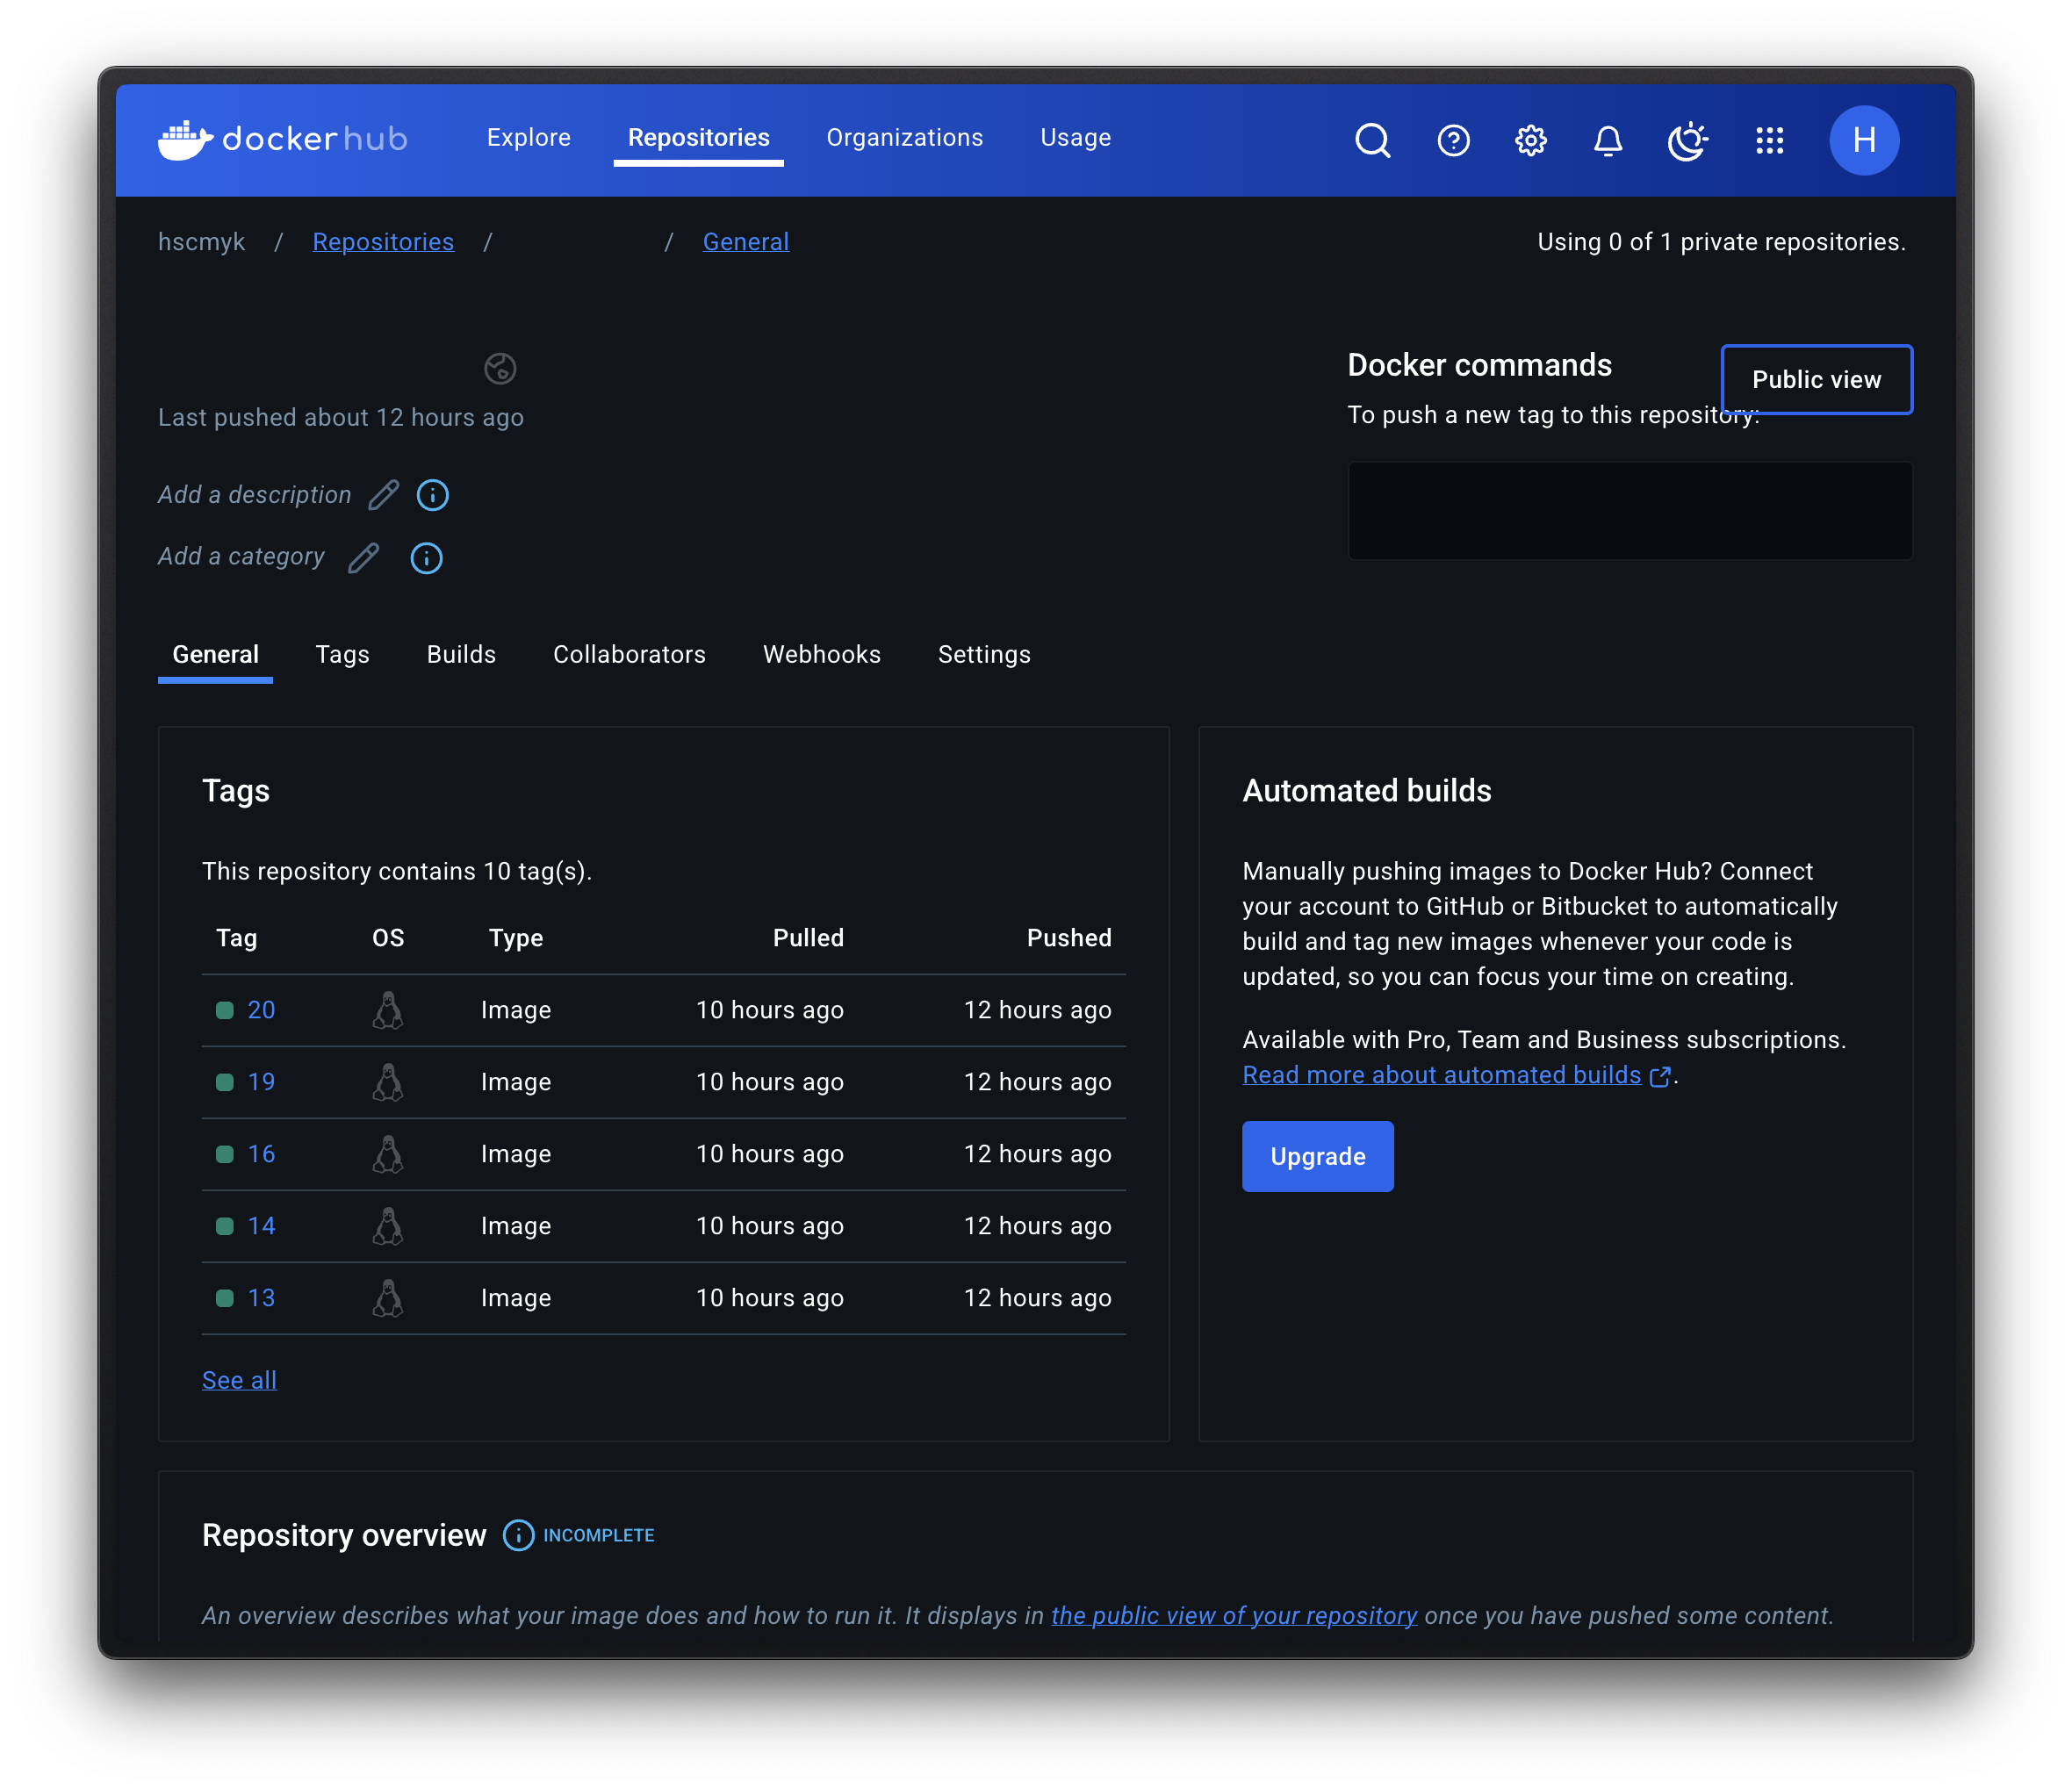
main 브랜치에 머지되면 이미지 빌드를 수행하고 Docker Hub에 업로드 되는 것을 볼 수 있다.